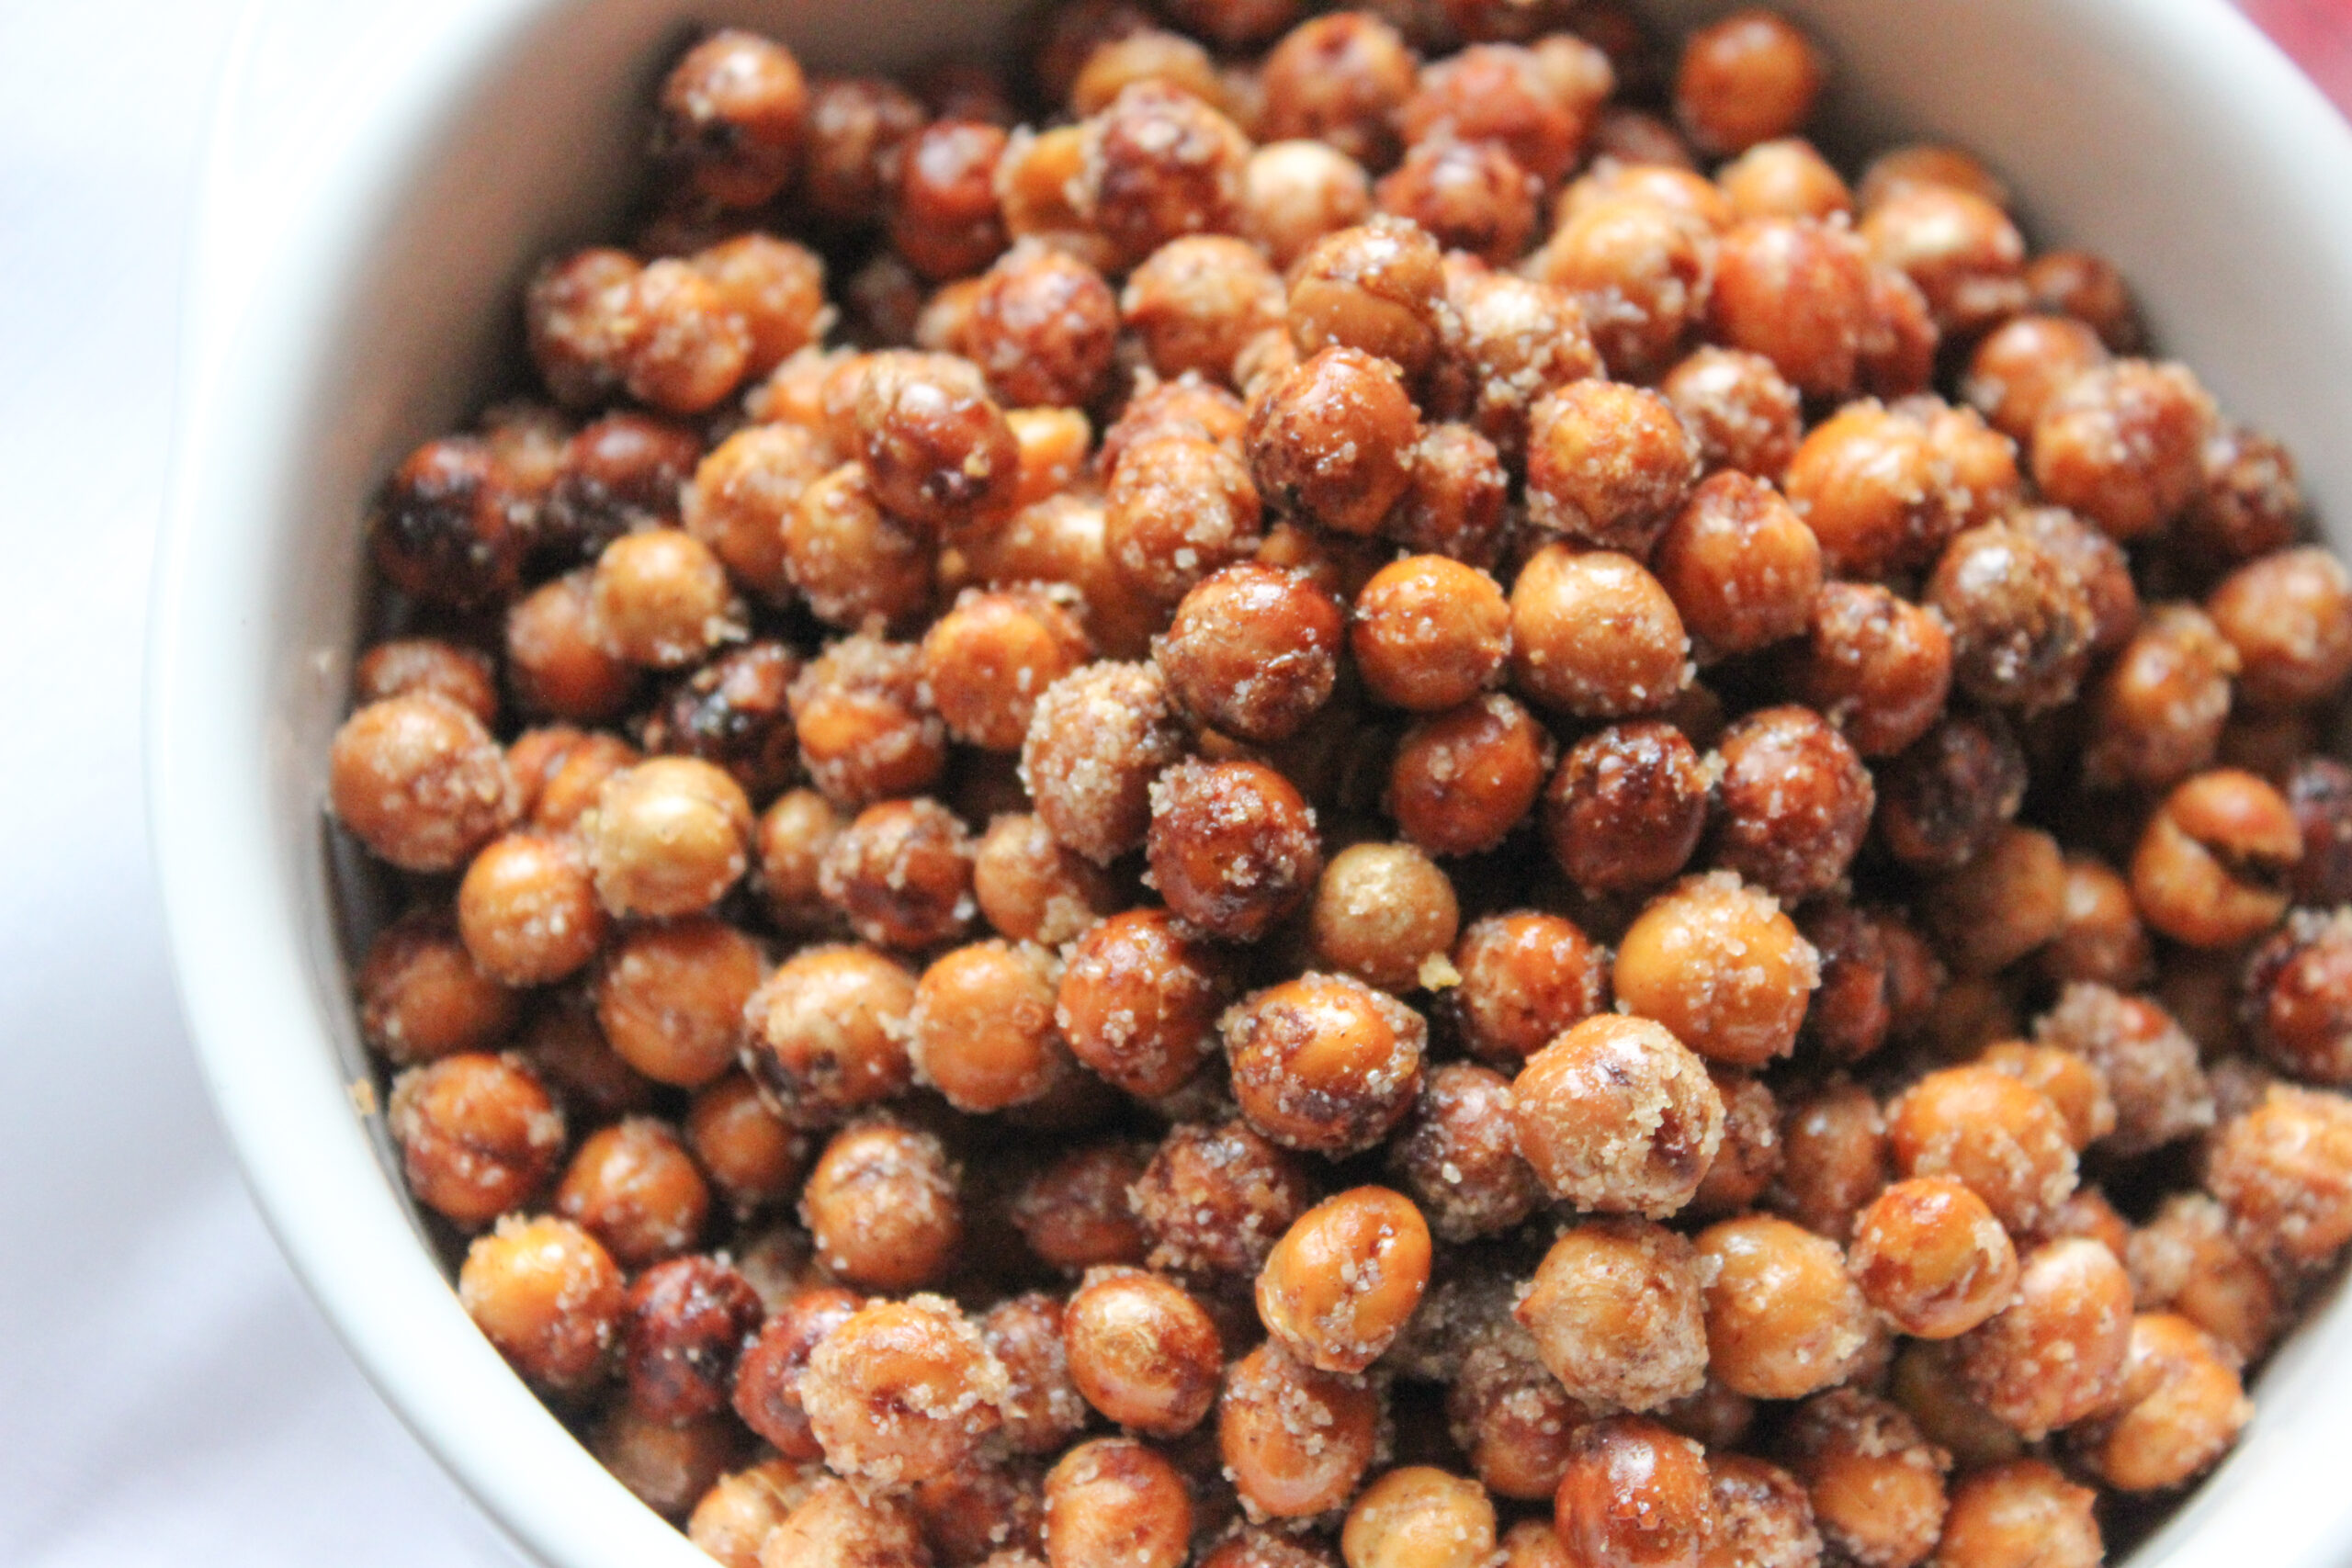
Author: The Life Harvest

Roasted Chickpeas

Roasted Chickpeas

I know what you’re thinking…. chickpeas? Yes! Chickpeas! I just love these nutrient dense little darlings. Cooked in stews to add bulk and nutrients, in salads for the creamy texture and crunch, the main ingredient in my favorite dip, hummus and now….. on their own,…

Fig, Raspberry and Mascarpone Tart

Fig, Raspberry and Mascarpone Tart

How BEAUTIFUL are these figs! Seriously! They have got to be amongst the biggest hidden gems of all fruits in my opinion. You would never think that hiding inside their dark purple, fussy, uninviting exterior, that at their centre lies a stunning, crimson hued, soft, seeded interior. Their internal…

Quinoa and Halloumi Salad

Quinoa and Halloumi Salad

quinoa and haloumi salad the life harvest, food blog salad, haloumi salad, beetroot and pear salad, rocket salad, summer salad, healthy salad, raw salad, healthy side salad, the life harvest, walnut salad

I have to admit to a new little obsession of mine…Halloumi cheese! I have no idea why it has taken me so long to get hooked on it, but I am sooo glad I am! 😉 I’ve tried it in restaurants as a tapas dish and liked it but never thought of trying it at home…until now that is! I looooove how salty it is! Pre-dinner munchies hit me last night as I was preparing dinner and so admittedly, I fried up a couple of pieces of halloumi and ate them on top of some fresh italian bread with a drizzle of olive oil! ahhhhhh…so delicious! It really hit the spot. Needless to say, I didn’t finish my dinner. Oops!:)

For anyone who hasn’t tried halloumi before, it can be compared to the texture and saltiness of feta cheese. It is an unripend, brined cheese, made from a combination of sheep’s, goat’s and at times cow’s milk. Mostly popular in middle eastern cooking where its high melting point makes it perfect for grilling! The salty flavour and squeaky texture goes so well with the sweet pears and crunchy walnuts in this salad, while the beautiful beetroot stains it a purpley colour.

A lighter version of this salad can easily be made without the quinoa if you prefer. As with my quinoa, pancetta and radish salad, you can really use your imagination and combine a multitude of different veggies and nuts. Quinoa has quite a neutral, nutty flavour which allows the veggies you chose to really shine. It is nutritionally loaded with goodness, a wheat free alternative and contains a full amino acid profile which makes it a complete protein. Quinoa is wonderful for those on a vegan or vegetarian diet who need to boost their protein consumption. Packed with anti-inflammatory properties, fibre and low GI, it’s really no wonder why its popularity has soared in the past few years.

I must admit, it took a while for me to like it. I think a large part of why I didn’t like it at first was because I wasnt washing it correctly before cooking it. Thus giving it a bitter, soapy, dishwater taste. It is ESSENTIAL to give it a good soak and rinse over a 30 minute period to wash away the naturally occurring saponins on the grain coating. Not only does it taste better but it is much easier for the gut to digest.

Well now that I’ve finished blabbering, I will get the recipe written up for you. I hope you like this variation as much as we did! Your biggest challenge will be to not eat all the halloumi while grilling it for the salad!;)  Enjoy! xxx

quinoa and haloumi salad the life harvest, food blog salad, haloumi salad, beetroot and pear salad, rocket salad, summer salad, healthy salad, raw salad, healthy side salad, the life harvest, walnut salad


Quinoa and Halloumi Salad
Recipe Type: Side Salad or Light Meal
Author: The Life Harvest
Prep time:
Cook time:
Total time:
Serves: 4-6 side servings
A nutritionally packed lunch or side salad for anyone needing a good health boost. This Quinoa and Halloumi Salad not only looks pretty but tastes delicious. Salty halloumi, sweet pears, crunchy walnuts and juicy beetroot make the quinoa superfood shine!
Ingredients
  • 170g halloumi – sliced thinly
  • 1 ripe pear – sliced thinly
  • 70g rocket leaves
  • 3/4-1 cup uncooked quinoa
  • 3 small cooked beetroots – cut roughly into bite size pieces
  • 1/2 – 3/4 cup walnuts
  • 1/4 cup flat parsley – roughly chopped
  • 3-4 tbsp thick balsamic glaze
  • 4 tbsp olive oil
  • Salt and pepper to taste
Instructions
  1. Firstly, soak the quinoa in a large bowl of water for 30 minutes. Rinse the water out and top it up every 5-10 minutes until it is clear of the murky colour from the saponins. {see notes above}
  2. Cook the quinoa as per the packet instructions. Once cooked, remove from the pot and spread it out in a large tray to cool down. Break it up ever so often to separate the clumps.
  3. In a pan, add one tbsp of olive oil and on a medium heat, fry or grill the slices of halloumi till they start to golden in colour. Place them to the side to cool.
  4. Once the quinoa and halloumi are well cooled, add them to a large bowl and combine with the rocket leaves, sliced pears, pieces of beetroot, walnuts and parsley.
  5. Pour over the olive oil and give it a good mix. Followed by the balsamic glaze and the salt and pepper to taste.
  6. Give it a good toss and serve.
Notes
Feel free to change quantities slightly if you prefer more of less of a particular ingredient. x


Salmon and Healthy Greens

Salmon and Healthy Greens

I do enjoy my cakes and treats that’s for sure, but we all need a healthy, nutritious meal to turn to at times to balance out the over indulging. Whilst I do enjoy all things healthy (and very naughty too!) sometimes they can taste too…

Polenta Chips

Polenta Chips

I need not even speak about how good these Polenta chips are! But I will! I think they taste equally as devine as they look. I am HUGE polenta fan! Coming from an Italian family, polenta replaced the ‘mashed potato’ sitting under our slow cooked, saucy…

Raw Caramel Cups

Raw Caramel Cups

caramel cups, salted caramel,  healthy snacks, healthy family snacks, raw snacks, raw chocolate, paleo snacks

I am so excited to share this recipe with you!!! These would have to be my favourite raw, healthy snacks on the go.  In fact, as I write this post, I am sampling my fourth caramel bite from todays batch!:) These crunchy, chewy, silky, sweet, salty, caramel cups are the closest you will get to the flavour of the full fat version of the naughty caramel slice. Except this recipe is packed with healthy, raw, energy boosting ingredients.

My favourite thing about these cups is that my kids are none the wiser that they are actually ‘healthy’ snacks! Within a minute of their first cup being devoured, all I hear is, “more, more, mummy, more!” I love hearing those words, especially when I know that they are eating a snack thats healthy for them.

We all know how good nuts are for us, so I need not explain their benefits to you, however the wonderful superfood, raw cacao powder, has its own unique properties too. Cacao is the raw, unprocessed form of chocolate. Made from peeled and cold pressed cacao beans, it is high in antioxidants, protein, fibre and a large variety of vitamins and minerals. One or two spoonfuls added to your raw baking and smoothies will give you a surprise added health benefit without sacrificing the delicious chocolatey taste. Just remember to not heat raw cacao powder as this kills all its lovely properties.

caramel cups, salted caramel,  healthy snacks, healthy family snacks, raw snacks, raw chocolate, paleo snacks

The process to make these caramel cups is a little lengthly, but not at all complicated. Most of the time is actually leaving them to set in the fridge. Preparation time is a synch! Above is a picture of the first layer going into my mini muffin tray. On second thought, I should have used my silicone mini muffin moulds as they would have popped out a lot easier. But either way, it still works. The baking tray method is a little bit fiddly and getting them out can crack the chocolate layer. Not that it matters because within a day you won’t have any left to worry about presentation anyway!

Below is a picture of the smooth and creamy caramel layer spread over the almond base.

caramel cups, salted caramel,  healthy snacks, healthy family snacks, raw snacks, raw chocolate, paleo snacks

caramel cups, salted caramel,  healthy snacks, healthy family snacks, raw snacks, raw chocolate, paleo snacks

The last but not least, raw chocolate layer carefully spooned over the top. A sprinkle of sea salt  lifts these little cuties to the next level! A total salted caramel, flavour explosion in your mouth. Trust me on this one! My caramel cups are perfect substitute to curb those late afternoon and post dinner sweet cravings.

I hope you and your family enjoy indulging in this healthy little sweet treats!

Let me know how you go!

xxx

caramel cups, salted caramel,  healthy snacks, healthy family snacks, raw snacks, raw chocolate, paleo snacks


Raw Caramel Cups
Recipe Type: Healthy Snacks
Author: The Life Harvest
Serves: 20 cups
Raw, sweet and delicious Caramel Cups, you won’t believe are actually healthy! A combination of all things good for you, transform a naughty classic into a moorish, anytime, tasty treat.
Ingredients
  • *Layer one*
  • 1 cup dates – covered and soaked in water for 15 mins
  • 1 cup almonds
  • *Layer two*
  • 1 cup dates – covered and soaked in water for 15 mins
  • 1/2 cup cashew nuts
  • 1 tbsp tahini
  • 1/4 cup maple syrup
  • 1 tbsp water – reserved from the date water
  • *Layer three*
  • 1/2 cup coconut oil – melted to liquid form
  • 3 tbsp raw cacao powder
  • 1 tbsp maple syrup
  • sea salt flakes to serve
Instructions
  1. Place the dates and almonds in a food processor and combine until the almonds are small pieces and the mixture sticks together when pressed.
  2. Spoon the mixture into mini muffin tins or silicone moulds. Fill till each hole is about 1/3 full.
  3. Refrigerate the tray in the fridge for 1 hour until hardened slightly.
  4. Place the dates, tahini, maple syrup, cashews,and water in a food processor and combine until a smoothish, sticky paste forms.
  5. Spoon this mixture into the mini muffin trays another 1/3 of the way up the mould.
  6. Refrigerate for an hour.
  7. In a bowl mix together the melted coconut oil, raw cacao powder and maple syrup.
  8. Pour the mixture to fill up the remaining 1/3 space in the moulds. (see photos above)
  9. Place in the fridge for half an hour.
  10. Remove the mould from the fridge and if you are using a silicone one, you should be able to pop them out gently. If you are using a tin like I did, take a slim knife and insert it gently to the side of the caramel cups to slowly loosen them. They chocolate may crack at times if its well set.
  11. To serve, sprinkle with sea salt flakes.
  12. Store in an airtight container in the fridge.
  13. Remove from the fridge and sprinkle the sea salt flakes


Healthy Coleslaw Salad

Healthy Coleslaw Salad

This is by far the easiest, quickest, freshest salad you will ever make. Not at all your traditional ‘coleslaw’ salad smothered in mayonnaise and goodness knows what else. Its a pet hate of mine when at a restaurant and I am served with coleslaw hiding…

Quinoa, Pancetta and Radish salad

Quinoa, Pancetta and Radish salad

So, as usual I’ve been indulging a little too much lately in the cakes and sweet department, so while the weather is ‘kinda’ heating up in UK, I was craving something healthy, light and nourishing. I love this salad for a filling lunch or light…

Fresh and Simple Fennel Salad

Fresh and Simple Fennel Salad

Fennel salad, zucchini salad, healthy salads, fennel & zucchini salad

I just LOVE, LOVE, LOVE, this salad! So fresh, healthy and vibrant in appearance and ingredients. I was grocery shopping and came across some beautiful baby zucchini and baby fennel, I just had to get them and make this dish. It can easily be made by finely slicing regular sized zucchini and fennel however. This fresh and simple fennel salad, is so quick to make! Finely slice your veg, dress with olive oil and lemon juice, salt and pepper…DONE!

fennel salad, fennel and celery salad, fennel and zucchini salad, healthy salad, raw salad

My soft spot for this salad lies in the fennel. Whilst its not your every day common vegetable and its liquorice/anise flavour does attract some haters. I am hoping to convince those haters otherwise. Being a vegetable mostly used in mediterranean cooking, I grew up eating a lot of fennel! My mum used to give my brother and I large fennel bulb pieces to chew on to sooth our teething as babies. Both its texture and composition being perfect for soothing sore gums. Apart from the baby teething benefits, the health benefits are quite wonderful too. It is high in dietary fibre and vitamin C, making it a powerful antioxidant and immune system booster. Many gut healing diets, such as ‘Gaps’, suggest the use of fennel due to its strong properties which help to improve digestive health.

Combining this wonderful, unused veg with the other equally as wonderful and healthy ingredients results in a really tasting, healthy, nutrient rich combination. It is a super versatile side to almost any dish or just perfect if you’re after a fresh light lunch.

Enjoy!

xxx

fennel salad, fennel and celery salad, fennel and zucchini salad, healthy salad, raw salad

Fresh and Simple Fennel Salad
Recipe Type: Healthy side salad
Author: The Life Harvest
Prep time:
Cook time:
Total time:
Serves: 2 – 4 servings
A fresh and simple salad, perfect as a side to almost any dish, or on its own. So many nutritious veggies complimenting the fennel, will make this unassuming salad become your favourite for a delicious, healthy option.
Ingredients
  • 300g baby fennel (or normal sized) – sliced finely
  • 200g baby zucchini (or normal size) – sliced finely
  • 4 x celery sticks + (the celery hearts tender leaves) – sliced finely
  • 1/4 cup of parsley – roughly chopped
  • pinenuts – (amount to your liking)
  • 1 x lemon – juice only
  • 2-3 tbsp olive oil
  • salt and pepper to taste
Instructions
  1. Preheat the oven to 180℃ and once heated, toast the pinenuts till lightly golden, then leave to cool.
  2. In a medium bowl, add the finely sliced fennel, zucchini, celery and chopped up parsley.
  3. In a small bowl combine the olive oil and lemon juice.
  4. Once the pinenuts are cooled, add them to the rest of the salad along with the olive oil and lemon juice.
  5. Season to taste with salt and pepper.
Notes
* The key to this dish it to make sure everything is sliced nice and finely. You don’t want big chunky pieces.[br]* Feel free to taste and adjust the dressing quantities slightly, depending on your preference.


Lamb Tagine

Lamb Tagine

I Loooove a casserole! I really do! I also love to cook them as I get to assemble it earlier in the day and leave it work its magic until dinner time. They really are life savers especially after after school sports that finish right…

Italian Meatballs

Italian Meatballs

Now who doesn’t LOVE a tender, melt in your mouth, tomato sauce covered, meatball? This recipe might take a little bit to put together, but leaving it to slow cook for a couple of hours while you get on with your day will give you…

PAELLA

PAELLA

paella, easy paella, mid week dinner, family paella, family friendly paella

Whilst there are hundreds of versions of paella out there, this version is by far the most successful for me in my everyday kitchen. It is super easy and even easier when everything is chopped up and ready to go, and of course very tasty. No need for any fancy paella pan either!

Feel free to mix it up with your favorite meat and fish selections as traditional paella, depending on its regional origin, really can be a combination of different proteins and vegetables. I have also tried this dish without sherry, substituting it with larger quantities of chicken stock, but have found that the addition of sherry gives it a far better flavour! Also, if you have your own beautiful home made stock, this will make all the difference!

paella, easy paella, mid week dinner, family paella, family friendly paella

My last but most important tip is to try your very hardest to not mix the paella during cooking time. It is so, so, so, tempting to mix it to check if its burning, but trust me, its well worth avoiding temptation. This is what allows the rice at the bottom to develop that famous crunchy layer that adds a wonderful texture and flavour. I have to admit, nerves sometimes do get the better of me! At just over half way, I peel back the smallest section of rice in the middle of the pan, with a small spoon, to double check its not too burnt. However in saying this, my husband loves the burnt bits the best!;)
I hope you enjoy!

(Recipe adapted from the lovely Lorraine Pascal)


Paella
Recipe Type: Every Day Meals
Cuisine: Spanish
Author: The Life Harvest
Prep time:
Cook time:
Total time:
Serves: 4 people
Hearty, simple, delicious Paella
Ingredients
  • 5 tbsp olive oil
  • 4 x chicken thighs – chopped into 1.5cm chunks
  • 170g chorizo sausage – chopped roughly the same size as the chicken pieces
  • 2 x cloves of garlic – chopped
  • 1 tsp paprika
  • 3/4 cup of sherry
  • 1.5 cups of Arborio Rice
  • A pinch of saffron
  • 2 tbsp unsalted butter
  • 2 cups of chicken stock
  • 1 x large handful of spring onions – sliced
  • 300g uncooked shrimp
  • 1 cup of frozen peas
  • 1 x handful of flat leaf parsley – finely chopped
  • 2 x limes + extra to serve
  • salt and pepper – to season
Instructions
  1. Heat 4 tbsp of olive oil in a generous sized pan over a medium heat. Once you have chopped the chicken, season with salt and pepper and add it to the heated oil to fry off until browned. You may need to do this in two batches to avoid stewing the chicken.
  2. Once the chicken is done return it all to the pan and add the chorizo till it starts to get colour on the edges (about a minute). Then add the garlic and the paprika till fragrant (about 1 minute), avoid burning the garlic.
  3. Add about half of the sherry and let it almost evaporate before you add in the rice, butter, saffron and chicken stock. At this point, almost all of the mixture should be covered with liquid.
  4. Reduce the heat to low and simmer the pan for about 15 minutes uncovered. After 15 minutes, cover with a lid and cook for another 15 minutes or until it had a slight bite. (I don’t have lids for my pans so I make one out of foil and it does just fine!) *Remember the key is to avoid stiring this rice mixture!*
  5. About half way through cooking the rice, heat another pan with one tablespoon of olive oil and add the spring onions till they begin to colour, but not burn!
  6. Add the shrimp to the oil and cook until they are blushing pink. Try not over cook as they will continue to cook a little when added to the rice later on.
  7. Add the frozen peas to this mixture until they are just heated through, then add the remaining sherry until evaporated.
  8. Once the rice and the shrimp are done, add the shrimp mixture to the rice, along with the juice of two limes. This really lifts the dish so don’t skimp.
  9. Taste and adjust for salt and pepper.
  10. Sprinkle the paella with the chopped fresh parsley and serve with extra lime wedges on the side.