Author: The Life Harvest

Get Up & Go Chocolate Smoothie

Get Up & Go Chocolate Smoothie

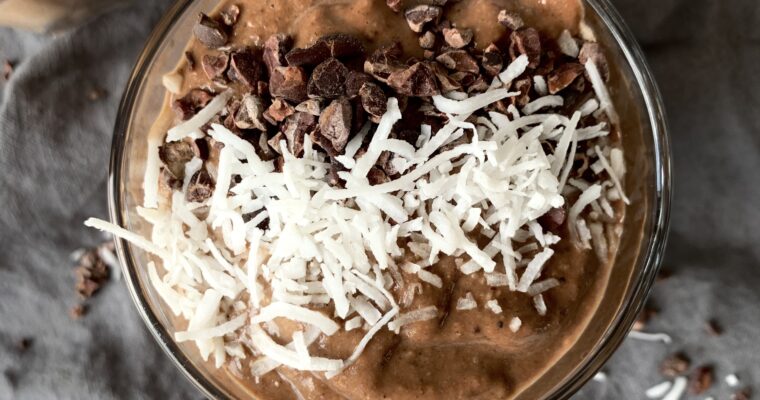
  If your are looking to supercharge your morning or even trying to boost that afternoon slump, I love this smoothie for not only how delicious it is, but also how nourishing it is for the body. If you are time poor in the mornings,…

Gelatin Jellies

Gelatin Jellies

If you are looking for a healthy option to boost your families nutrient content with very little effort, I highly recommend making gelatin jellies. A variation of these gummies are something I make almost weekly for our family and try to eat them daily. They…

Slow Cooked Lamb Shoulder

Slow Cooked Lamb Shoulder

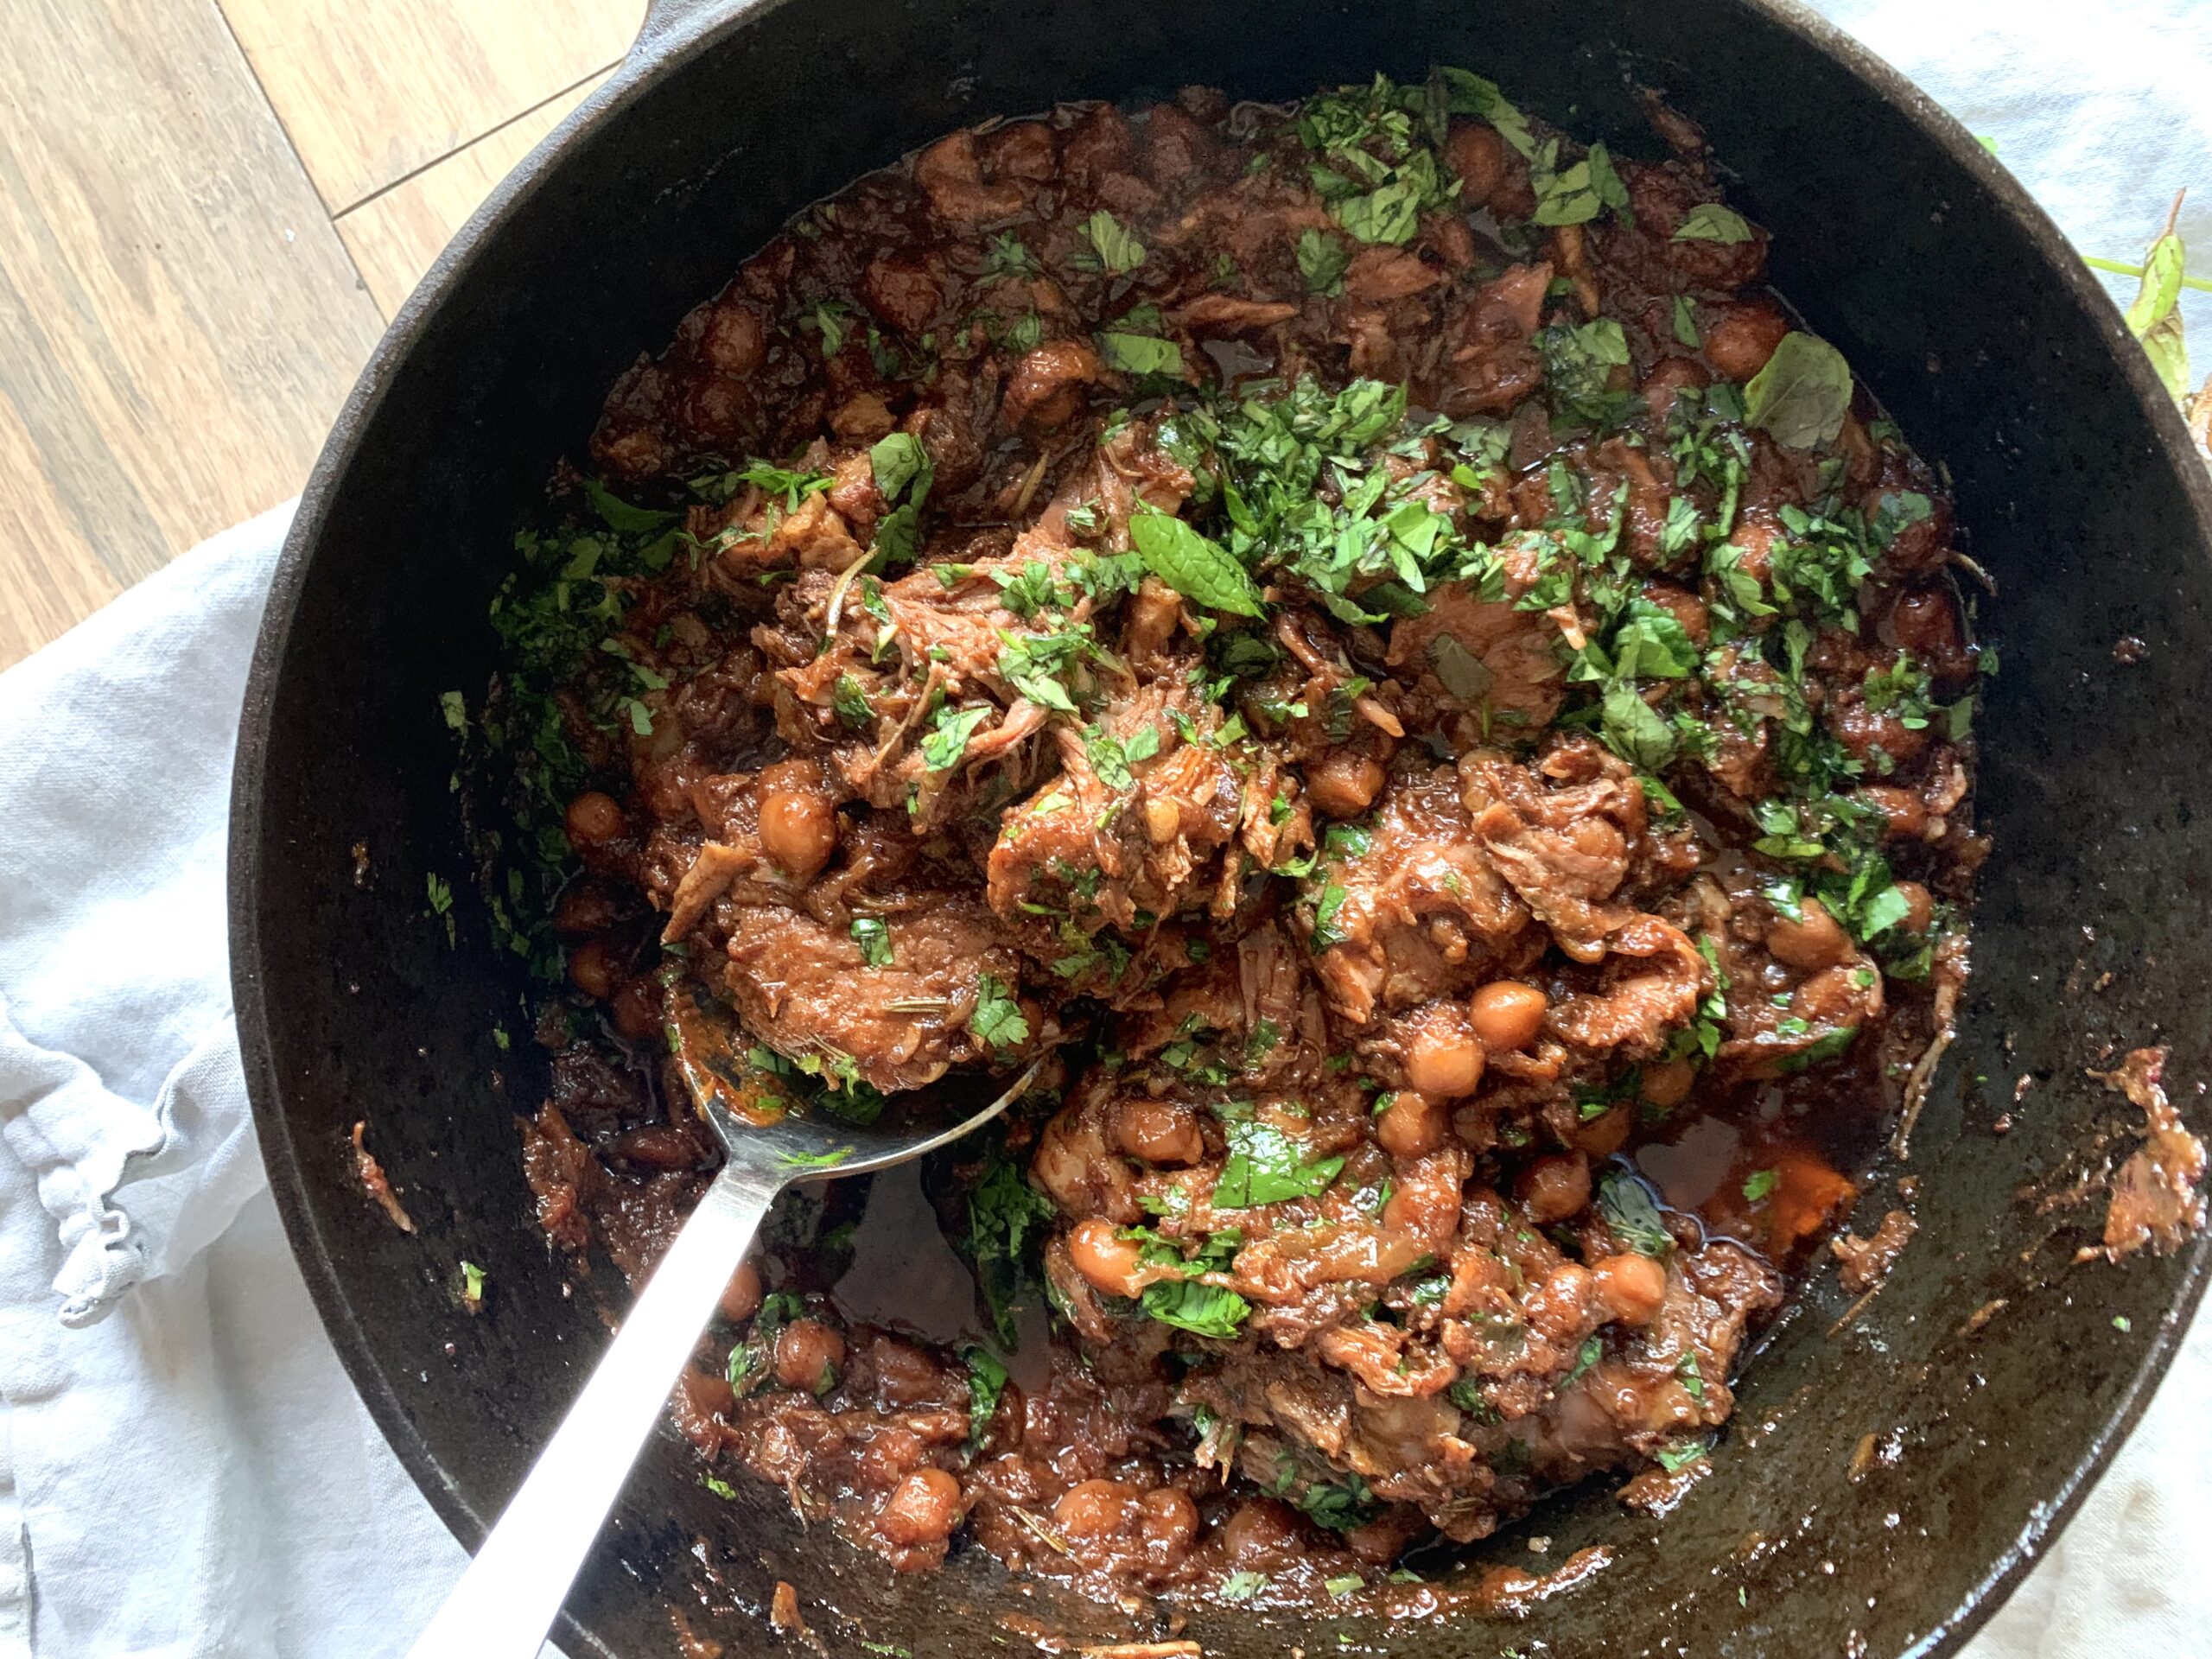
This recipe is super sticky, tasty and overall scrummy. It has a middle eastern flavour to it, thanks to the spice mix and is pretty hard to mess up! The flavour base is rich and sticky thanks to the tomatoes, dates and onions and pairs beautifully with your favourite carb to soak up all the juices and possibly some steamed veggies and side salad to freshen up the richness.

Building a delicious flavour base from whole food ingredients is completely possible, rendering pre-made packet flavour mixes and gravy quite average. You can use these similar flavours or change the spices when slow cooking other animal proteins such as pork or chicken.

I highly recommend cooking this on a weekend when you have some extra time in the day and storing left overs for mid week, go-to meals when you are stranded for time. Throwing together some rice and salad to go with it will leave you nourished and satisfied on those days you are pressed for time. I hope you enjoy!

Slow Cooked Lamb Shoulder

  • 1 kg Lamb Shoulder
  • 6 tbsp Olive oil
  • 2 Onions (thinly sliced)
  • 2 Garlic cloves (thinly sliced)
  • 1 tsp Chilli flakes (dried)
  • 2 tsp Garam Marsala spice mix
  • 1 can Chick peas (drained & washed)
  • 1 cup Tomato passata (not flavoured)
  • 6 whole Medjool dates (pitted & roughly chopped)
  • 1 stick Rosemary (fresh or dried)
  • 1 cup Filtered water
  • Salt & Pepper (to taste)
  • 1 handful Fresh coriander (roughly chopped)
  • 1 handful Fresh mint (roughly chopped)
  1. Heat your oven to 200°C

  2. In a large pot (with lid), over a med/high heat, sauté the sliced onions with 3 tablespoons of olive oil, till soft and starting to brown.

  3. Add the garlic and stir for a minute, before adding in 1 tsp of the spice mix. Stir for 30 seconds to heat the spices.

  4. Then, add in the tomato passata, chick peas, cup of water, dates and half the rosemary. Season with salt and pepper and stir everything together.

  5. Place the lamb on top of the sticky mixture, drizzle well with the rest of the olive oil. Sprinkle the remaining 1 tsp of spice mix over the top of the lamb and season it with salt and pepper and the remaining rosemary.

  6. Place the pot (lid off) into the pre-heated oven for 20 minutes to render the fat.

  7. While you wait, tear off some baking paper – about the size of the pot circumference. Scrunch it up completely over running water to wet it all over.

  8. After 20 minutes in the oven, remove the pot and turn the heat down to about 150°C.

    Cover the lamb loosely with the baking paper – this will help seal in the moisture.

    Place the lid onto the pot and place back in the oven for about 3 hours, until soft and flakey. You can cook it on a lower heat for a bit longer.

  9. Once the lamb is cooked, I like to leave it for at least 15 – 30 minutes to rest in the pot before removing the elastic and breaking it up into the juices.

  10. Stir in the fresh herbs before serving!

Serving Suggestions

  1. This dish pairs beautifully with steamed rice, quinoa, mashed potatoes, wraps etc…

    I would recommend serving it with a fresh salad and/or steamed veggies to add some freshness. I think some minted, lemony, natural yoghurt would also be extra yummy and even some fresh chilli if you like it hot!

Chocolate Orange Muesli

Chocolate Orange Muesli

Making your own homemade muesli is hugely satisfying and super easy! Once you make your first batch you will never buy it again. Here are some benefits of making your own:

Goats Cheese and Pea Risotto with Pancetta Pangrattato

Goats Cheese and Pea Risotto with Pancetta Pangrattato

I have been meaning to post this recipe for AAAAGES!!! My go to, traditional, simple Risotto with a bit of a flavour twist. I am a bit nutty for risotto! I love it’s oozyness, warmth and delicate al dente bite when cooked ‘just right!’ My…

The Best Ever Bircher Muesli

The Best Ever Bircher Muesli

bircher muesli, muesli, breakfast, wholefood, family food, easy, fast, fruit, oats, overnight, onebowl, delicious, family, lunch

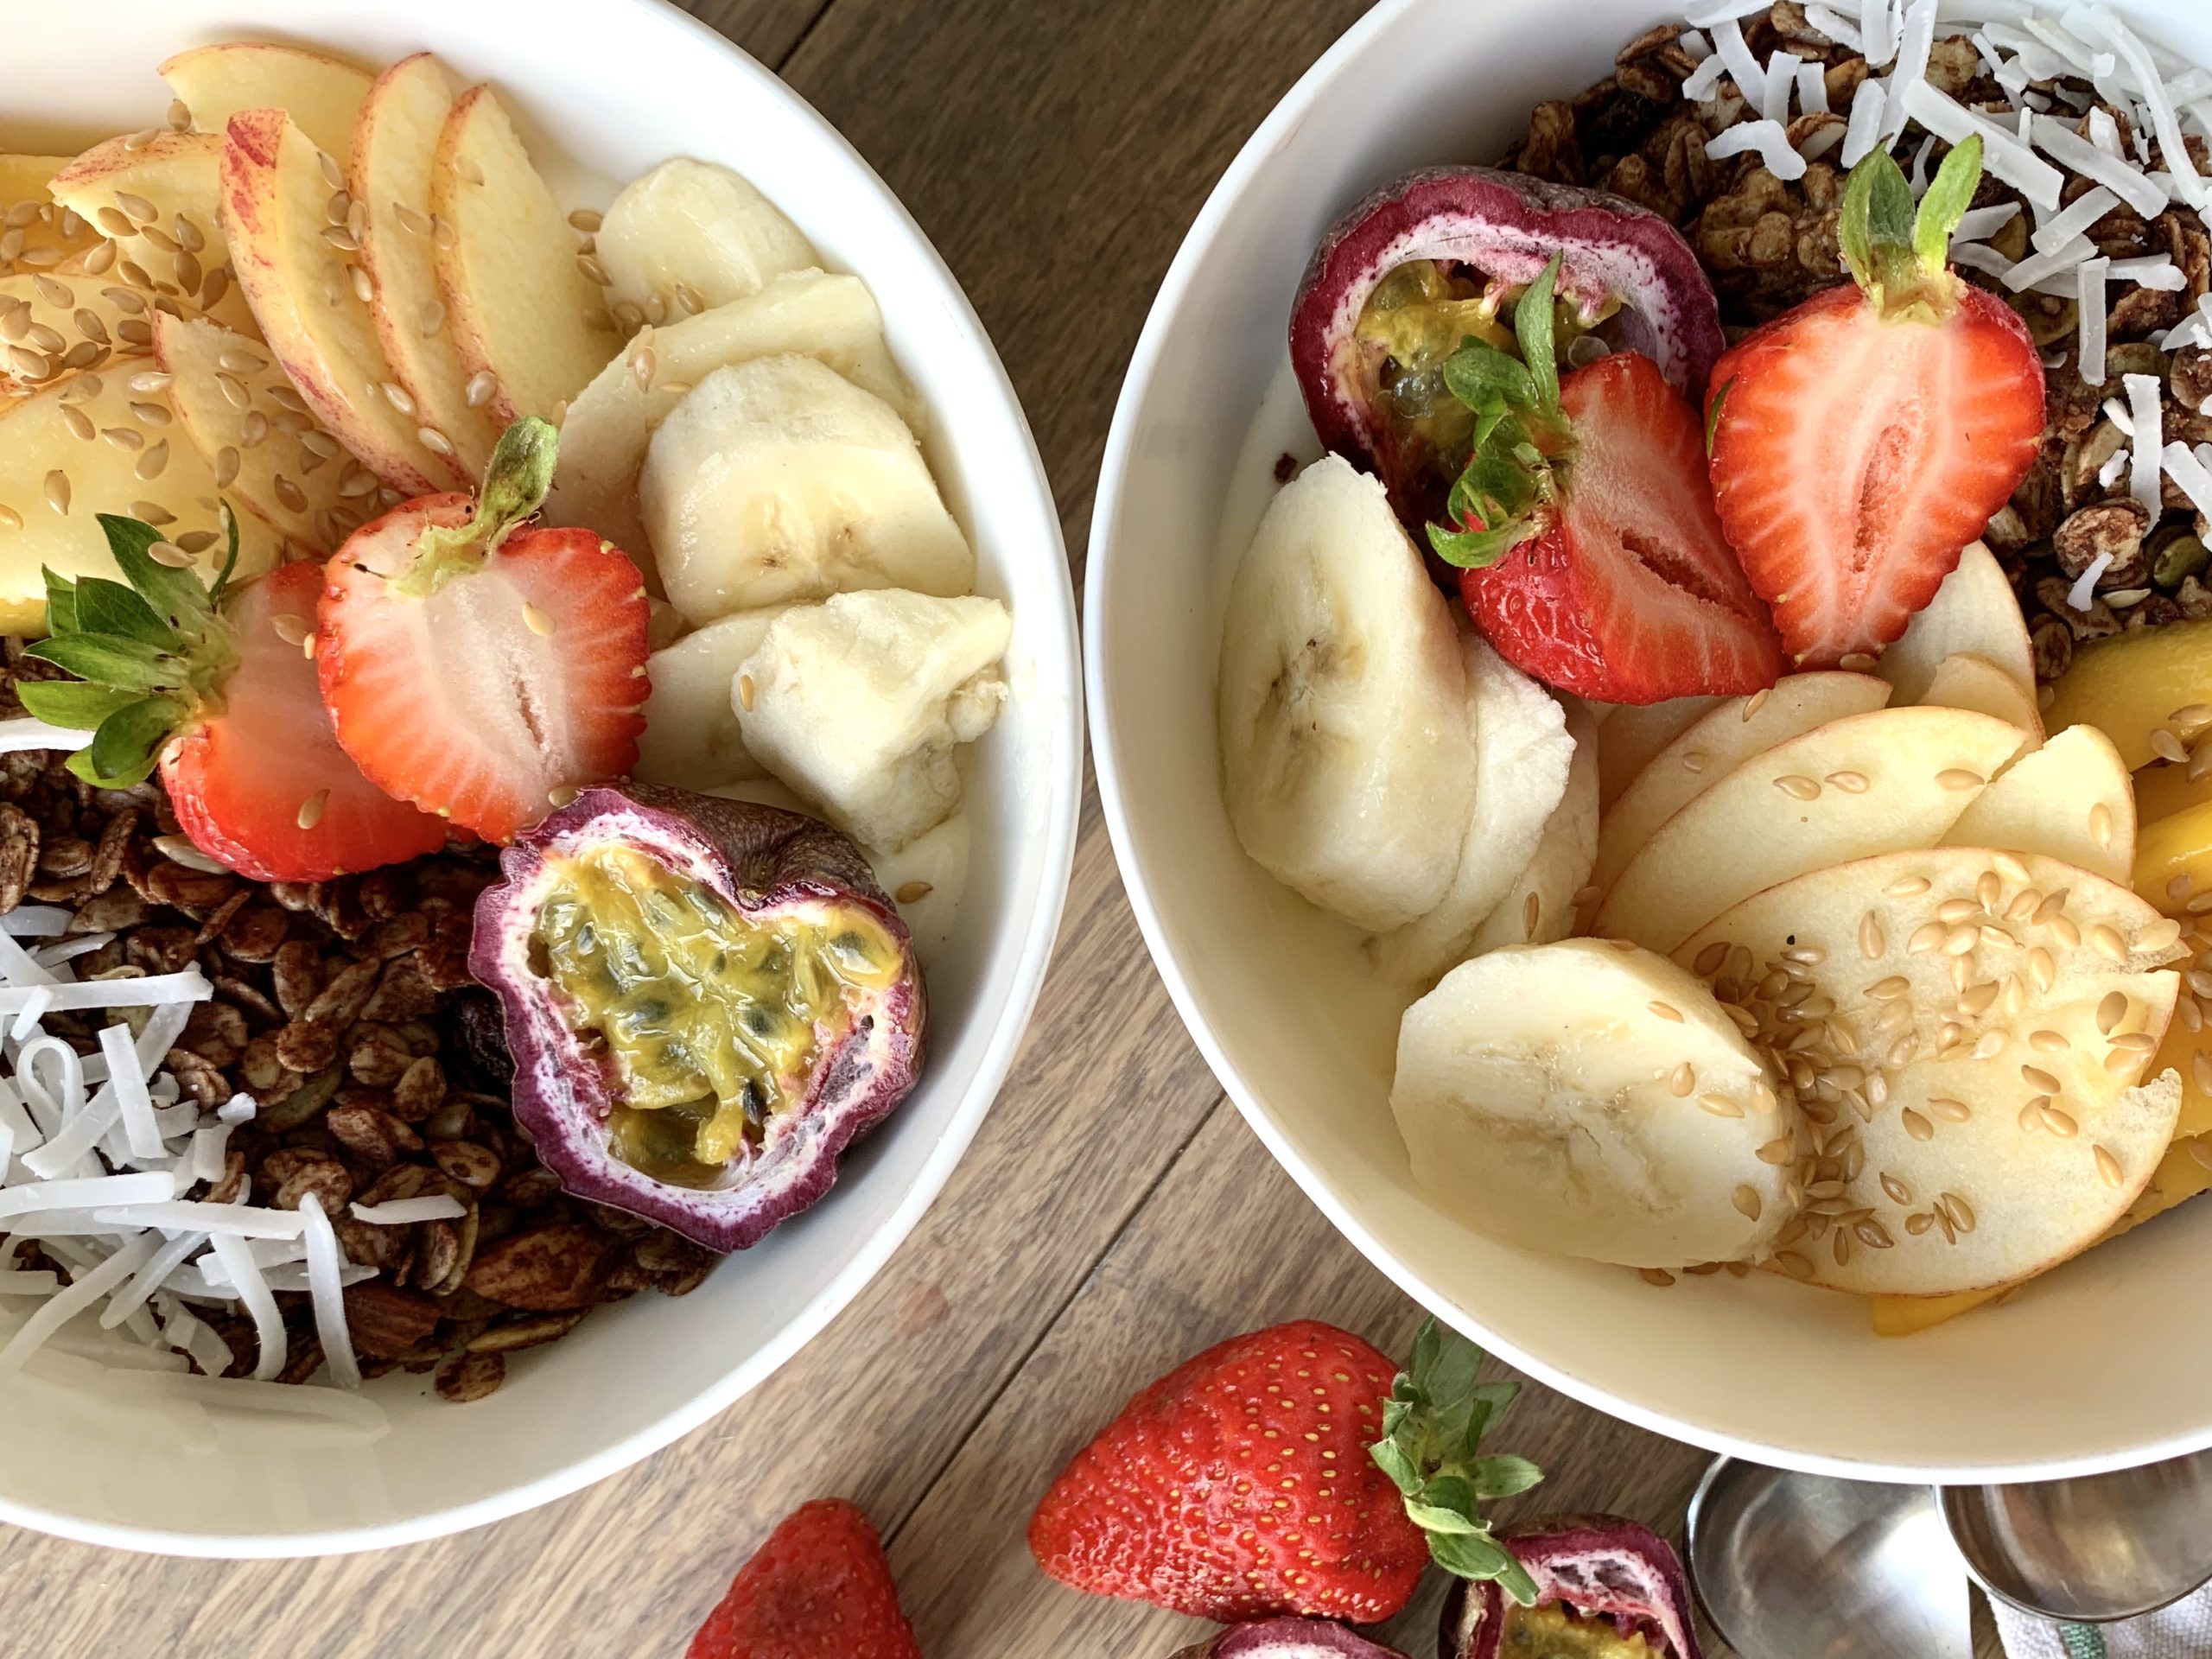
Without mucking about, I honestly am in love with this breakfast. The beauty of bircher muesli is that it is really open to adjusting the quantities of milk, water and yoghurt as you prefer. I like mine a little more milky versus my husband who prefers half the milk substituted with more yoghurt. Obviously, the topping options you can choose are endless and any seasonal fruits, compotes and nuts will make for an ever changing and interesting flavour combination.

My most favourite thing about Bircher Muesli is that it is mostly made the night before you need it and keeps for at least three days! This has no doubt saved me, in my morning frenzy, getting the troops ready for school drop off, so many times! Just a couple of big spoonfuls of bircher, a drizzle of raw honey and a scattering of mixed berries, and breakfast is ready! I love knowing that my family is heading out the door with a healthy, wholesome and sustaining breakfast. It will most certainly keep small and bigger tummies full till lunch time without spiking sugar levels throughout the morning.

Oats are a brilliant and concentrated source of fibre and nutrients with an endless list of health benefits for all ages. I urge you to put down that cereal box and make it your resolution to starting your day with a much more wholesome breakfast, I promise, you wont look back!

BIRCHER MUESLI

A nourishing bowl of goodness ready and waiting for you every morning. A family favourite breakfast whether you are in a rush or enjoying a lazy weekend breakfast. This Bircher Muesli recipe is quick, easy and wonderfully healthy. It will keep you full for hours and will not doubt become your ‘go to’ recipe for a wholesome, delicious breakfast.

Bircher Ingredients

  • 2 cups jumbo or steel cut oats
  • ¼ cup dessicated coconut
  • ⅓ cup raisins (without veg oil coating)
  • ¼ cup flaked almonds
  • 1 cup coconut water
  • 1¼ cup whole organic milk or nut milk (no additives)
  • ½ cup organic natural yoghurt
  • ½ tsp cinnamon
  • 2 small apples (grated)
  • 1 orange (zest & juice)

Cooked Pears – optional

  • 2 pears (peeled, cored, cut into ¼'s)
  • 1 orange (juice only (can use zest in the muesli mixture))
  • 2 tbsp water
  • 1 vanilla pod (seeds scraped out)
  • 2 tbsp coconut sugar

For the Bircher

  1. In a medium bowl, combine all the Muesli ingredients and give it a good mix till well combined. Make sure all the ingredients are well hydrated in the liquid, leaving no dry bits.

  2. Cover the bowl and leave in the fridge over night to soak.

  3. Top with your favourite fruity and/or nutty ingredients in the morning, including these cooked pears which you can also make the night before too.

For the Cooked Pears

  1. Place all the ingredients for the cooked pears into a small pot and heat on the stove on a medium heat. Cover with a lid so the steam helps to cook the pears. If it seems a bit dry, add a little more water at intervals to keep the steam going and to create a syrup. Cook for 10 mins or soft to your liking.

  2. Allow the pears to cool before storing in the fridge. Use both the cooked pears and the syrup over the top of your muesli once you’re ready to eat it.

Bircher muesli and the cooked pears keep well in the fridge for about 4 days. Its worth making a good sized batch for a handy, nutritious breakfast, ready to eat in minutes.

Dairy Free? – Replace dairy with coconut milk or coconut water. Avoiding commercial nut milks and coconut yoghurt which are filled with questionable ingredients.

Breakfast
healthy, nourishing, wholefood

Cavolo Nero with Garlic, Hazelnuts and Beans

Cavolo Nero with Garlic, Hazelnuts and Beans

This is one of my family’s favorite side veggie dish – Cavolo Nero with Garlic, Hazelnuts and Beans! I’m not sure how I got my kids to enjoy something so healthy but I am super chuffed when they enjoy any green vegetable beyond the humble…

Chocolate Bark

Chocolate Bark

The festive season is upon us and I just couldn’t help myself but jump right in! I have been dying to make some chocolate bark, in particular because you get to flavour it in any way you like, the options are endless! Plus it is…

Chicken Cacciatore

Chicken Cacciatore

dinner, family meals, chicken, chicken cacciatore, simple meals, easy dinner, quick meals, italian food, italian meals, rustic dinner, sunday dinner, hearty, flavoursome, simple, the life harvest

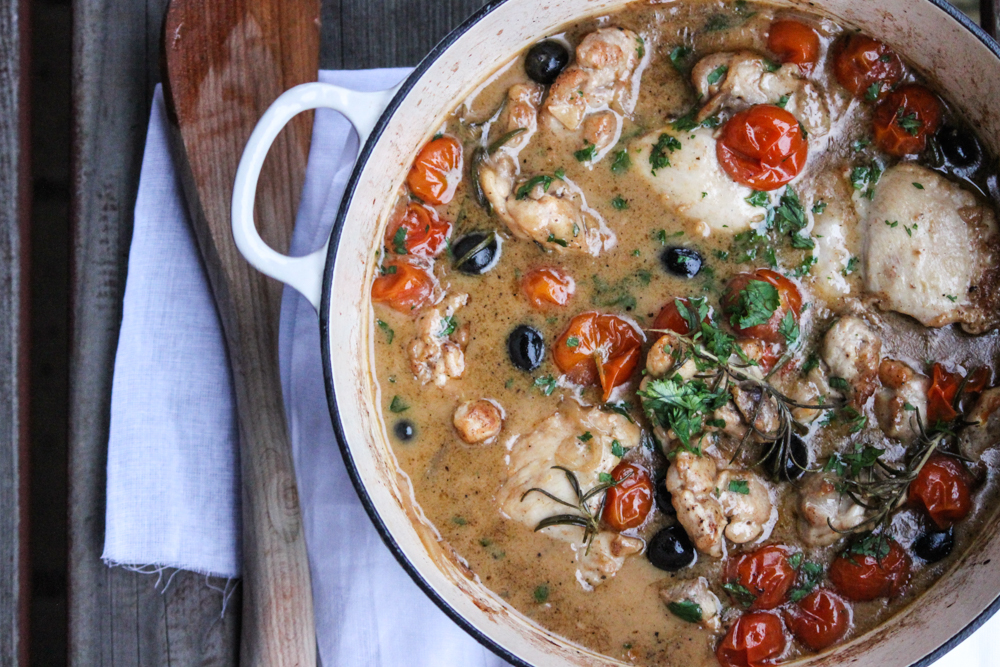
Sometimes, even those who love to cook and create in the kitchen feel less than inspired. At times I’m buzzing with ideas, and then other times, just completely blank when thinking of new ways to excite the family at dinner time. This is when my husband reassuringly reminds me, ‘just keep it simple…no need to reinvent the wheel.’ My Chicken Cacciatore dish is one of those simple, rustic, everyday meals that is packed with flavour but requires very little effort. The work is predominantly done with a closed lid, in the oven. I love those meals! Don’t you?! My children love it because of the olives, so I am quite generous with my quantity. Feel free to scale them as you prefer.

dinner, family meals, chicken, chicken cacciatore, simple meals, easy dinner, quick meals, italian food, italian meals, rustic dinner, sunday dinner, hearty, flavoursome, simple, the life harvest

Traditionally and Italian meal and known as, ‘Hunters Chicken Stew’, this meal looks very much like a hunter would sit down to it after a day out in the fields along with a well-earned bottle of red wine. Rustic, earthy and simple, with the sauce begging to be mopped up with a chunky slice of Italian bread. Prepped and cooked in an hour and a half, however, I don’t see why you couldn’t leave it at a low temperature in a slow cooker throughout the day. The chicken will be wonderfully juicy and literally melt in your mouth. If you try it, let me know how it works! Feel free to substitute black olives for green, white wine for red, cherry tomatoes for a can of tomatoes. It’s really quite forgiving.

dinner, family meals, chicken, chicken cacciatore, simple meals, easy dinner, quick meals, italian food, italian meals, rustic dinner, sunday dinner, hearty, flavoursome, simple, the life harvest, food blogger

One thing I will always advise is to use the best quality stock you can, or homemade stock is even better. Keep an accumulation of chicken bones in your freezer from your roast chicken dinners along with some chicken feet from your local butcher. Boil the bones with some chopped carrots, celery, bay leaves and seasoning for a good few hours, till it’s wonderful and flavoursome. Allow the stock to cool before storing in ice-cube trays, silicone muffin moulds or baby food moulds. By making a big batch, you have an excellent flavour base for virtually any meal that requires braising, for soups and even for risotto’s. Just pop in a frozen cube or two and you will definitely thank yourself for the time you took to make it.

I hope this meal is helpful when you too have a day where reinventing the ‘dinner wheel’ is the furthest thing from your mind. Enjoy! xxx

dinner, family meals, chicken, chicken cacciatore, simple meals, easy dinner, quick meals, italian food, italian meals, rustic dinner, sunday dinner, hearty, flavoursome, simple, the life harvest

Chicken Cacciatore
Recipe Type: Dinner
Cuisine: Italian
Author: The Life Harvest
Prep time:
Cook time:
Total time:
Serves: 4 people
A hearty, simple & flavoursome, rustic Italian meal. My Chicken Cacciatore is super simple & packed with flavour. Serve with some crispy roast potatoes and of course a chunky slice of fresh Italian bread to mop up all the juices.
Ingredients
  • 900g – 1kg chicken thighs
  • 350g cherry tomatoes
  • 200g black olives
  • 2 tbsp all purpose flour
  • 1 tsp dried oregano
  • 1 tsp paprika
  • 4 small sticks of rosemary
  • 2 tbsp olive oil
  • 1 medium onion – finely sliced or diced
  • 3 cloves of garlic – finely sliced
  • 3/4 cup white wine
  • 3/4 cup chicken stock
  • salt and pepper to taste
  • Handful of parsley – chopped
Instructions
  1. Pre-heat the oven to 180℃.
  2. Combine the flour, dried oregano, paprika, salt & pepper in a medium bowl.
  3. In a casserole type dish, heat the olive oil on a medium to high heat. Flour each chicken thigh in the flour/herb mixture till lightly coated, shaking off the excess.
  4. Flour and fry all the chicken thighs in batches until they are all lightly browned on the outside (not completely cooked). Set the chicken aside.
  5. In the pot, fry the onion on a medium heat until soft (add some extra olive oil if too dry). Once soft, add the sliced garlic and fry till fragrant. Then add the chicken back into the pot, along with the olives, tomatoes and white wine. Stir and allow it to bubble away for a few minutes until the alcohol flavour evaporates and liquid is reduced by half.
  6. Add the rosemary sticks, chicken stock and a light seasoning of salt and pepper.
  7. Place a lid on the pot and braise in the oven for about an hour or until cooked and tender. Adjust salt and pepper seasoning and sprinkle with chopped parsley before serving.
  8. Serve with some roast or boiled potatoes, steamed greens and fresh bread.


Sweet Potato and Roasted Garlic Hummus

Sweet Potato and Roasted Garlic Hummus

When it comes to chickpeas, I think it’s fair to say I really have a ‘thing’ for them. They are such a versatile ingredient in so many dishes and are prized for their high protein and fiber content, as well as an abundance of key…

Blackberry and Apple Crumble

Blackberry and Apple Crumble

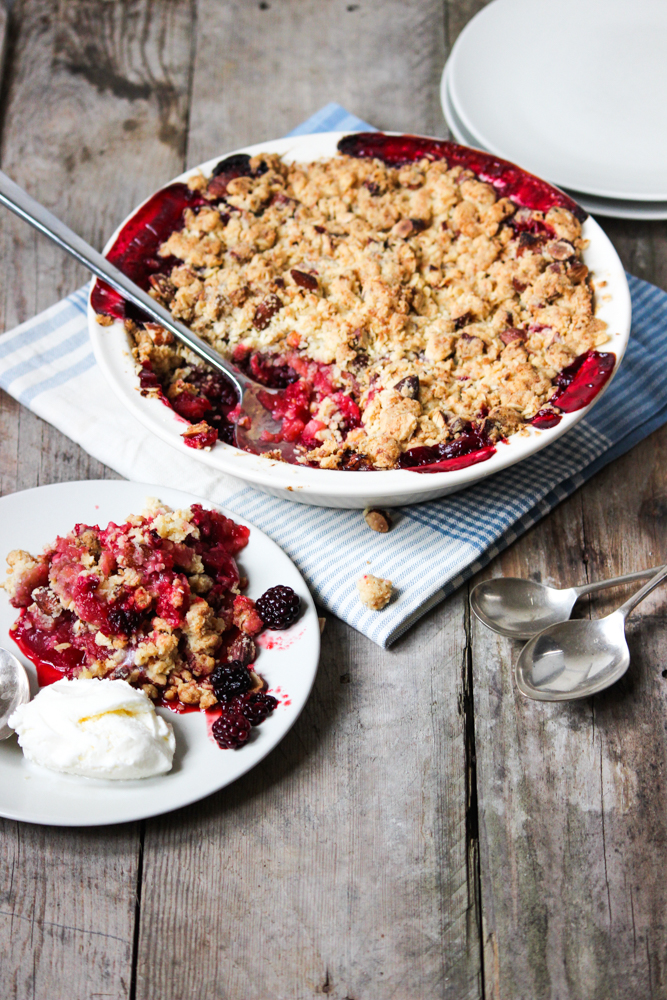
My favorite thing to do with crumbles is to pick out the crunchy, buttery clusters that sit on top. The bigger the better! 😉 Don’t you think? Crumbles are such a hearty, soulful dessert that feel like your belly has just been given a nice…

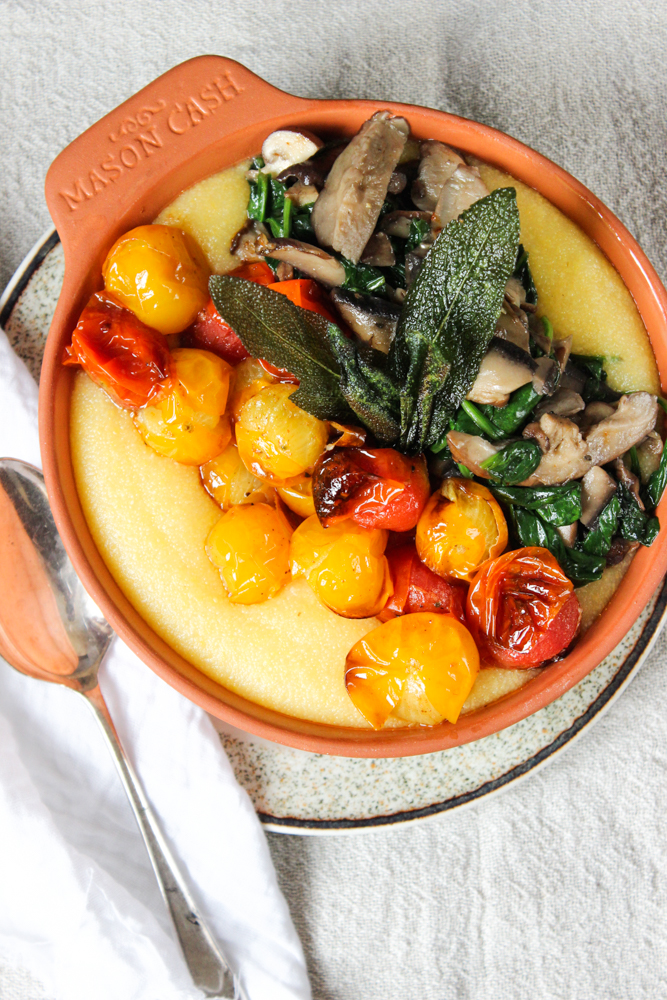
Polenta with Roasted Tomatoes and Sautéed Veggies

Polenta with Roasted Tomatoes and Sautéed Veggies

polenta, vegetarian dinner, vegetarian food, sauteed vegetables, roast dinner, roasted tomatoes, side salad, side meals, contorni, polenta meals, the life harvest, food blog

Given my Italian background, I am kind of obsessed with polenta. Growing up in South Africa in an Italian family, I remember my mum using this wonderful ingredient to accompany meat dishes cooked in tomato based sauces. Polenta is a common dish in Northern Italy (where my mum’s family is from), thus coining Northern Italians the name ‘polentoni’ – big polenta’s. A nostalgic dish, which I remember in particular, was Italian sausages cooked in a tomato and onion based sauce, served over a bed of oozy, creamy, polenta and a good grating of parmesan cheese. This hearty meal is a fond memory of food that takes me back to my roots and my childhood. Hence, I am always keen to use it, like here where I fry the left over polenta to make polenta chips. If you haven’t tried these, you need to do so with the left overs from this dish! It’s a bit naughty but totally delightful! 😉

polenta, vegetarian dinner, vegetarian food, sauteed vegetables, roast dinner, roasted tomatoes, side salad, side meals, contorni, polenta meals, the life harvest, food blog


Inspired, last week, by the talented folk at Pinch of Yum, I was quick to act in making a similar dish that used my beloved polenta. What I love about this dish is that it can be easily eaten on its own as a vegetarian meal, packed with nutrient dense veggies OR, as a side dish to accompany a roast dinner or meat of any kind. I quite easily could have eaten it on its own, my husband however, being the meat-eating cave man he is, enjoyed it with some oven roasted, beef eye fillet.

By sautéeing such simple veggies in a little bit of butter and garlic, completely changes their flavour profile. Yes you can reduce the butter content in the entire dish, however, I think that’s what makes this dish so hearty and satisfying to eat on its own, not to mention totally yummy!

Please, what ever you do, do NOT buy the already made, packaged polenta. That stuff is, in nice terms, horrid! You can buy ‘quick cook’ polenta meal at any grocery store near the dried pulses, couscous etc… It is super easy and fast to make! Cooked in salted boiling water or stock, as per packet instructions and you have a great replica of traditional polenta in a matter of minutes.  Traditional polenta takes up to an hour of slow cooking to really release the starch. You can read a great article about the art of cooking polenta here if you’re interested. But for everyday cooking, the ‘quick cook’ stuff is just fine!

To me, this meal seemed to emulate a hearty roast dinner with a bit of a twist. It most certainly left us very content. I hope you enjoy my Polenta with Roasted Tomatoes and Sautéed Veggies. I would love to hear about a family meal you had as a child that triggers fond memories for you!

xxx

IMG_7147

Polenta with Roasted Tomatoes and Sautéed Veggies
Recipe Type: Vegetables
Author: The Life Harvest
Cook time:
Total time:
Serves: 4 side dishes
Polenta with Roasted Tomatoes and Sautéed Veggies…it might sound simple but it tastes divine. A wonderful, flavourful, vegetarian meal all in one or perfect as a hearty side to a sunday roast.
Ingredients
  • <span></span><span></span>200g Polenta – uncooked
  • 2 cups mixed cherry tomatoes
  • 1 tsp paprika
  • <span></span><span></span>400g mixed selection of mushrooms – slice large mushrooms thickly and baby mushrooms into quarters
  • <span></span><span></span>150g baby spinach leaves
  • 3 cloves of garlic – finely sliced
  • 6 tbsp Olive oil
  • 2 heaped tbsp butter
  • salt and pepper
  • a small bunch of sage leaves – optional
Instructions
  1. Pre-heat the oven to 200℃.
  2. On a lined baking tray, combine the whole cherry tomatoes with 3 tablespoons of olive oil, paprika and salt and pepper. Give them a good toss and place them into the oven for approx 25 mins until their skins blister and are some are browning. This is totally your preference as to how you like them cooked.
  3. Mean while, cook the polenta as per the pack instructions, remembering that polenta firms up when it sets so don’t skimp on the water. I always add a bit extra as I like mine a bit runny. Make sure you salt the boiling water well or else it will taste pretty bland. Once its cooked, finish with one heaped tablespoon of butter to make it extra creamy and yummy.
  4. In a frying pan, heat the remaining 3 tbsp of olive oil and one heaped tablespoon of butter and fry the sliced garlic on a medium heat until fragrant, NOT burnt. Add the mushrooms and toss them around till well coated with the oil and butter. Cook the mushrooms for a minute before you add the baby spinach. Season with a good amount of salt and pepper and turn off the stove. The spinach will wilt with the remaining heat.
  5. Once all your components are ready, assemble them as you like.
  6. You can finish off the dish with some fried sage leaves.
  7. To do this, simply heat 2 tablespoons of olive oil in a small pan, throw in the sage leaves for a few seconds until they are crispy. Remove them and serve them as a garnish.


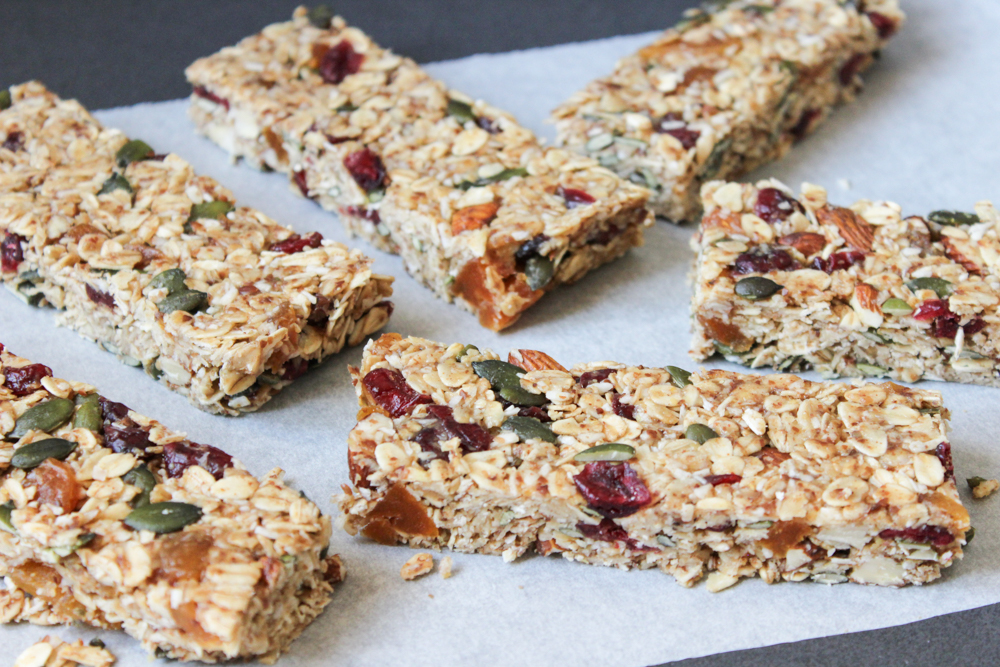
No Bake Muesli Bars

No Bake Muesli Bars

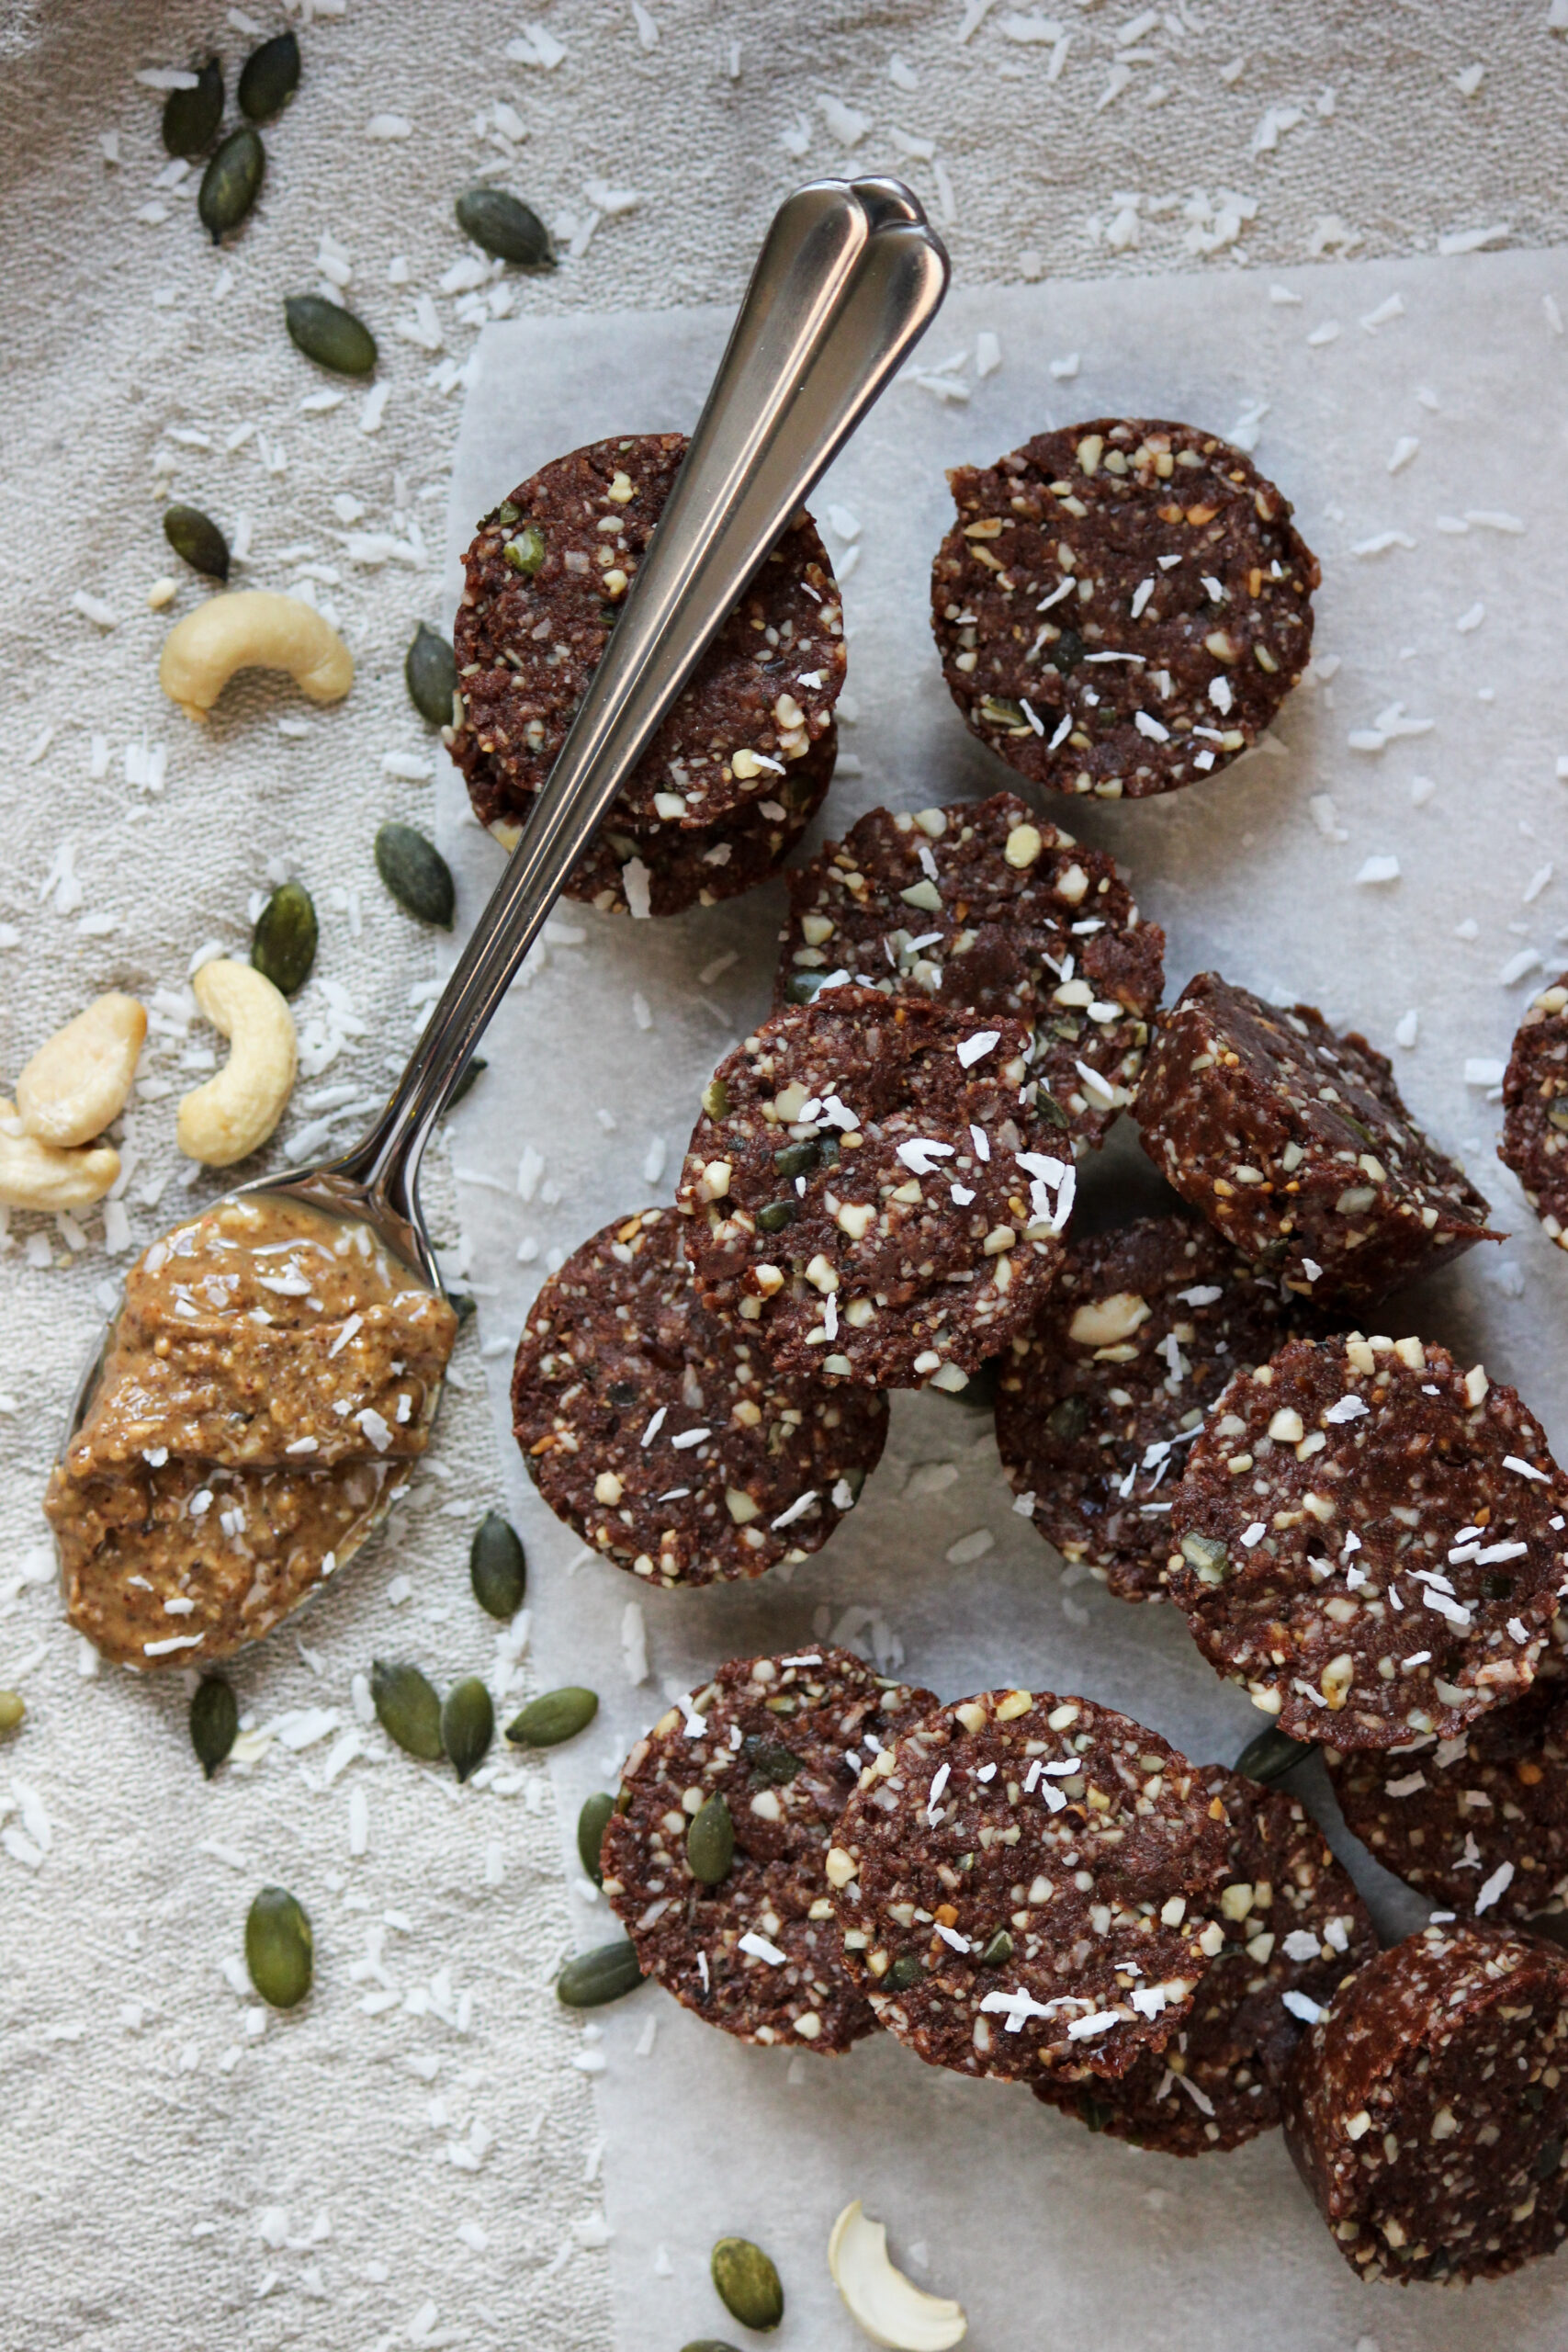
These days, a lot of us are making our own homemade muesli bars, protein balls and healthy snacks. There is an endless list of ingredients you can combine to create your own super-food bar and tailor it to your and your family’s taste, diet and…

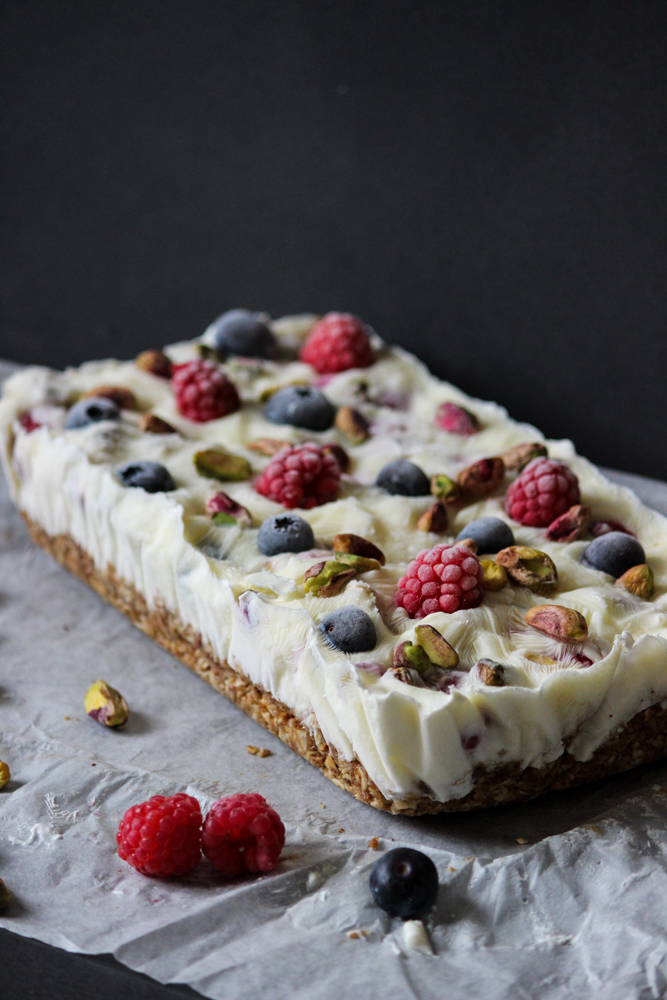
Frozen Yoghurt Cake

Frozen Yoghurt Cake

Celebrating summer time with a healthy frozen yoghurt cake with fresh raspberries, blueberries and pistachio nuts on a base of oats and almond butter. Sounds delicious doesn’t it! 🙂 This is one of the easiest desserts/ snacks/ breakfasts you could ever make and boy does it look…

Grilled Peaches with Honey Mascarpone Cream

Grilled Peaches with Honey Mascarpone Cream

honey, dessert, grilled peaches, mascarpone, mascarpone cream, summer dessert, picnic dessert, cooked fruit desserts, raw honey desserts, artisan honey, dessert recipes, fruit dessert recipe, the life harvest, food blog

On my recent trip to London (which I am still in the process of writing about) I had the blissful experience of visiting the Borough markets. Among the countless stalls of heavenly artisan products, I came across a raw honey stall belonging to a friendly couple whose company is called From Field and FlowerAvid food lovers themselves, they source the most delicious raw honey from the UK, Tasmania, Italy and Sweden. Check out their honey selection online and a bit about their story.  After struggling to make a decision as to which honey I would purchase, I settled on two, the Apricot variety from the Italian Honey Creme range and the Swedish wildflower creamed Honey. I cannot explain the flavours! The bees making their honey must pollinate in the most luscious habitats. Seriously mind-blowing sweetness and flavours!

IMG_6184

I’ve been waiting for the right time to use this treasured ingredient as I don’t want it to finish! I decided to team it with grilled peaches for dessert and flavour some mascarpone cream with the apricot infused honey. Plus of course a lovely drizzle of it over the top of the peaches too! OH MY! Was it delicious! Probably the easiest dessert I’ve ever made with such moorish flavours. Simple, tasty and oh so satisfying! Yes, I know the mascarpone adds a touch of decadence but hey, a dollop….or three…or four wont hurt! 😉 If you can find a farmers market and get your sticky fingers on a jar of gorgeous raw honey, please do so! Not only are the flavours so much tastier, the health benefits are well worth it! I have saved the Swedish wildflower creamed jar for when the family are run down. I find raw honey is the best medicine to ward off sore throats and colds due to its anti-inflammatory & antiseptic properties. Knowing the medicinal benefits of raw honey, makes eating it by the spoonful that much more difficult to stop. 😉

I hope you enjoy this dessert for all its beauty, decadence and health benefits! ;)xxx

honey, dessert, grilled peaches, mascarpone, mascarpone cream, summer dessert, picnic dessert, cooked fruit desserts, raw honey desserts, artisan honey, dessert recipes, fruit dessert recipe, the life harvest, food blog

honey, dessert, grilled peaches, mascarpone, mascarpone cream, summer dessert, picnic dessert, cooked fruit desserts, raw honey desserts, artisan honey, dessert recipes, fruit dessert recipe, the life harvest, food blog


Grilled Peaches with Honey Mascarpone Cream
Recipe Type: Dessert
Author: The Life Harvest
Prep time:
Cook time:
Total time:
Serves: 4 serves
A delicious and super simple dessert made in ten minutes! Sweet juicy peaches, creamy mascarpone cheese, sticky raw honey, topped with roasted almond flakes are a match made in heaven!
Ingredients
  • 4 ripe peaches
  • 1 tbsp olive oil
  • 280 ml cream
  • 250 ml mascarpone cheese
  • 1 tsp vanilla bean paste
  • 1-2 tbsp raw honey + extra to drizzle
  • Almond flakes – roasted
Instructions
  1. Roast the almond flakes in a hot oven until they are toasty and golden brown. Set aside.
  2. Halve and de-seed the peaches, then brush the flesh lightly with olive oil.
  3. Heat a griddle pan to med-high heat and place the peaches flesh side down until they start to show blackened grill marks on the flesh.
  4. In a medium bowl combine the cream, mascarpone, honey and vanilla bean paste till smooth.
  5. Serve the grilled peaches with a generous dollop of the cream mixture, a sprinkle of the roasted almonds and an extra drizzle of honey.


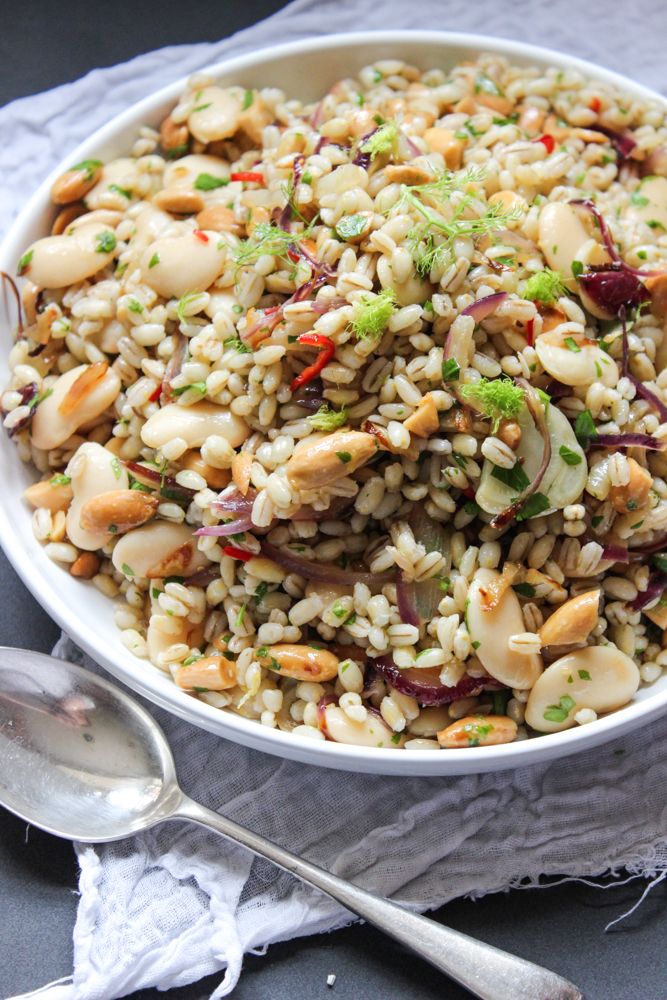
Summer Barley Salad

Summer Barley Salad

When most of us think of barley, we think of it used in stews to add more density and bulk. I’d have to say my favorite way to use it is in salads due to its neutral flavour and interesting texture. Served warm or cold, it…

Raw Energy Bites

Raw Energy Bites

I love to have an easy, healthy snack in the fridge to whip out for my family when they start to whine at me for food in-between meals. I find if I don’t have some of these raw energy bites made up for the kids,…

Mediterranean BBQ

Mediterranean BBQ

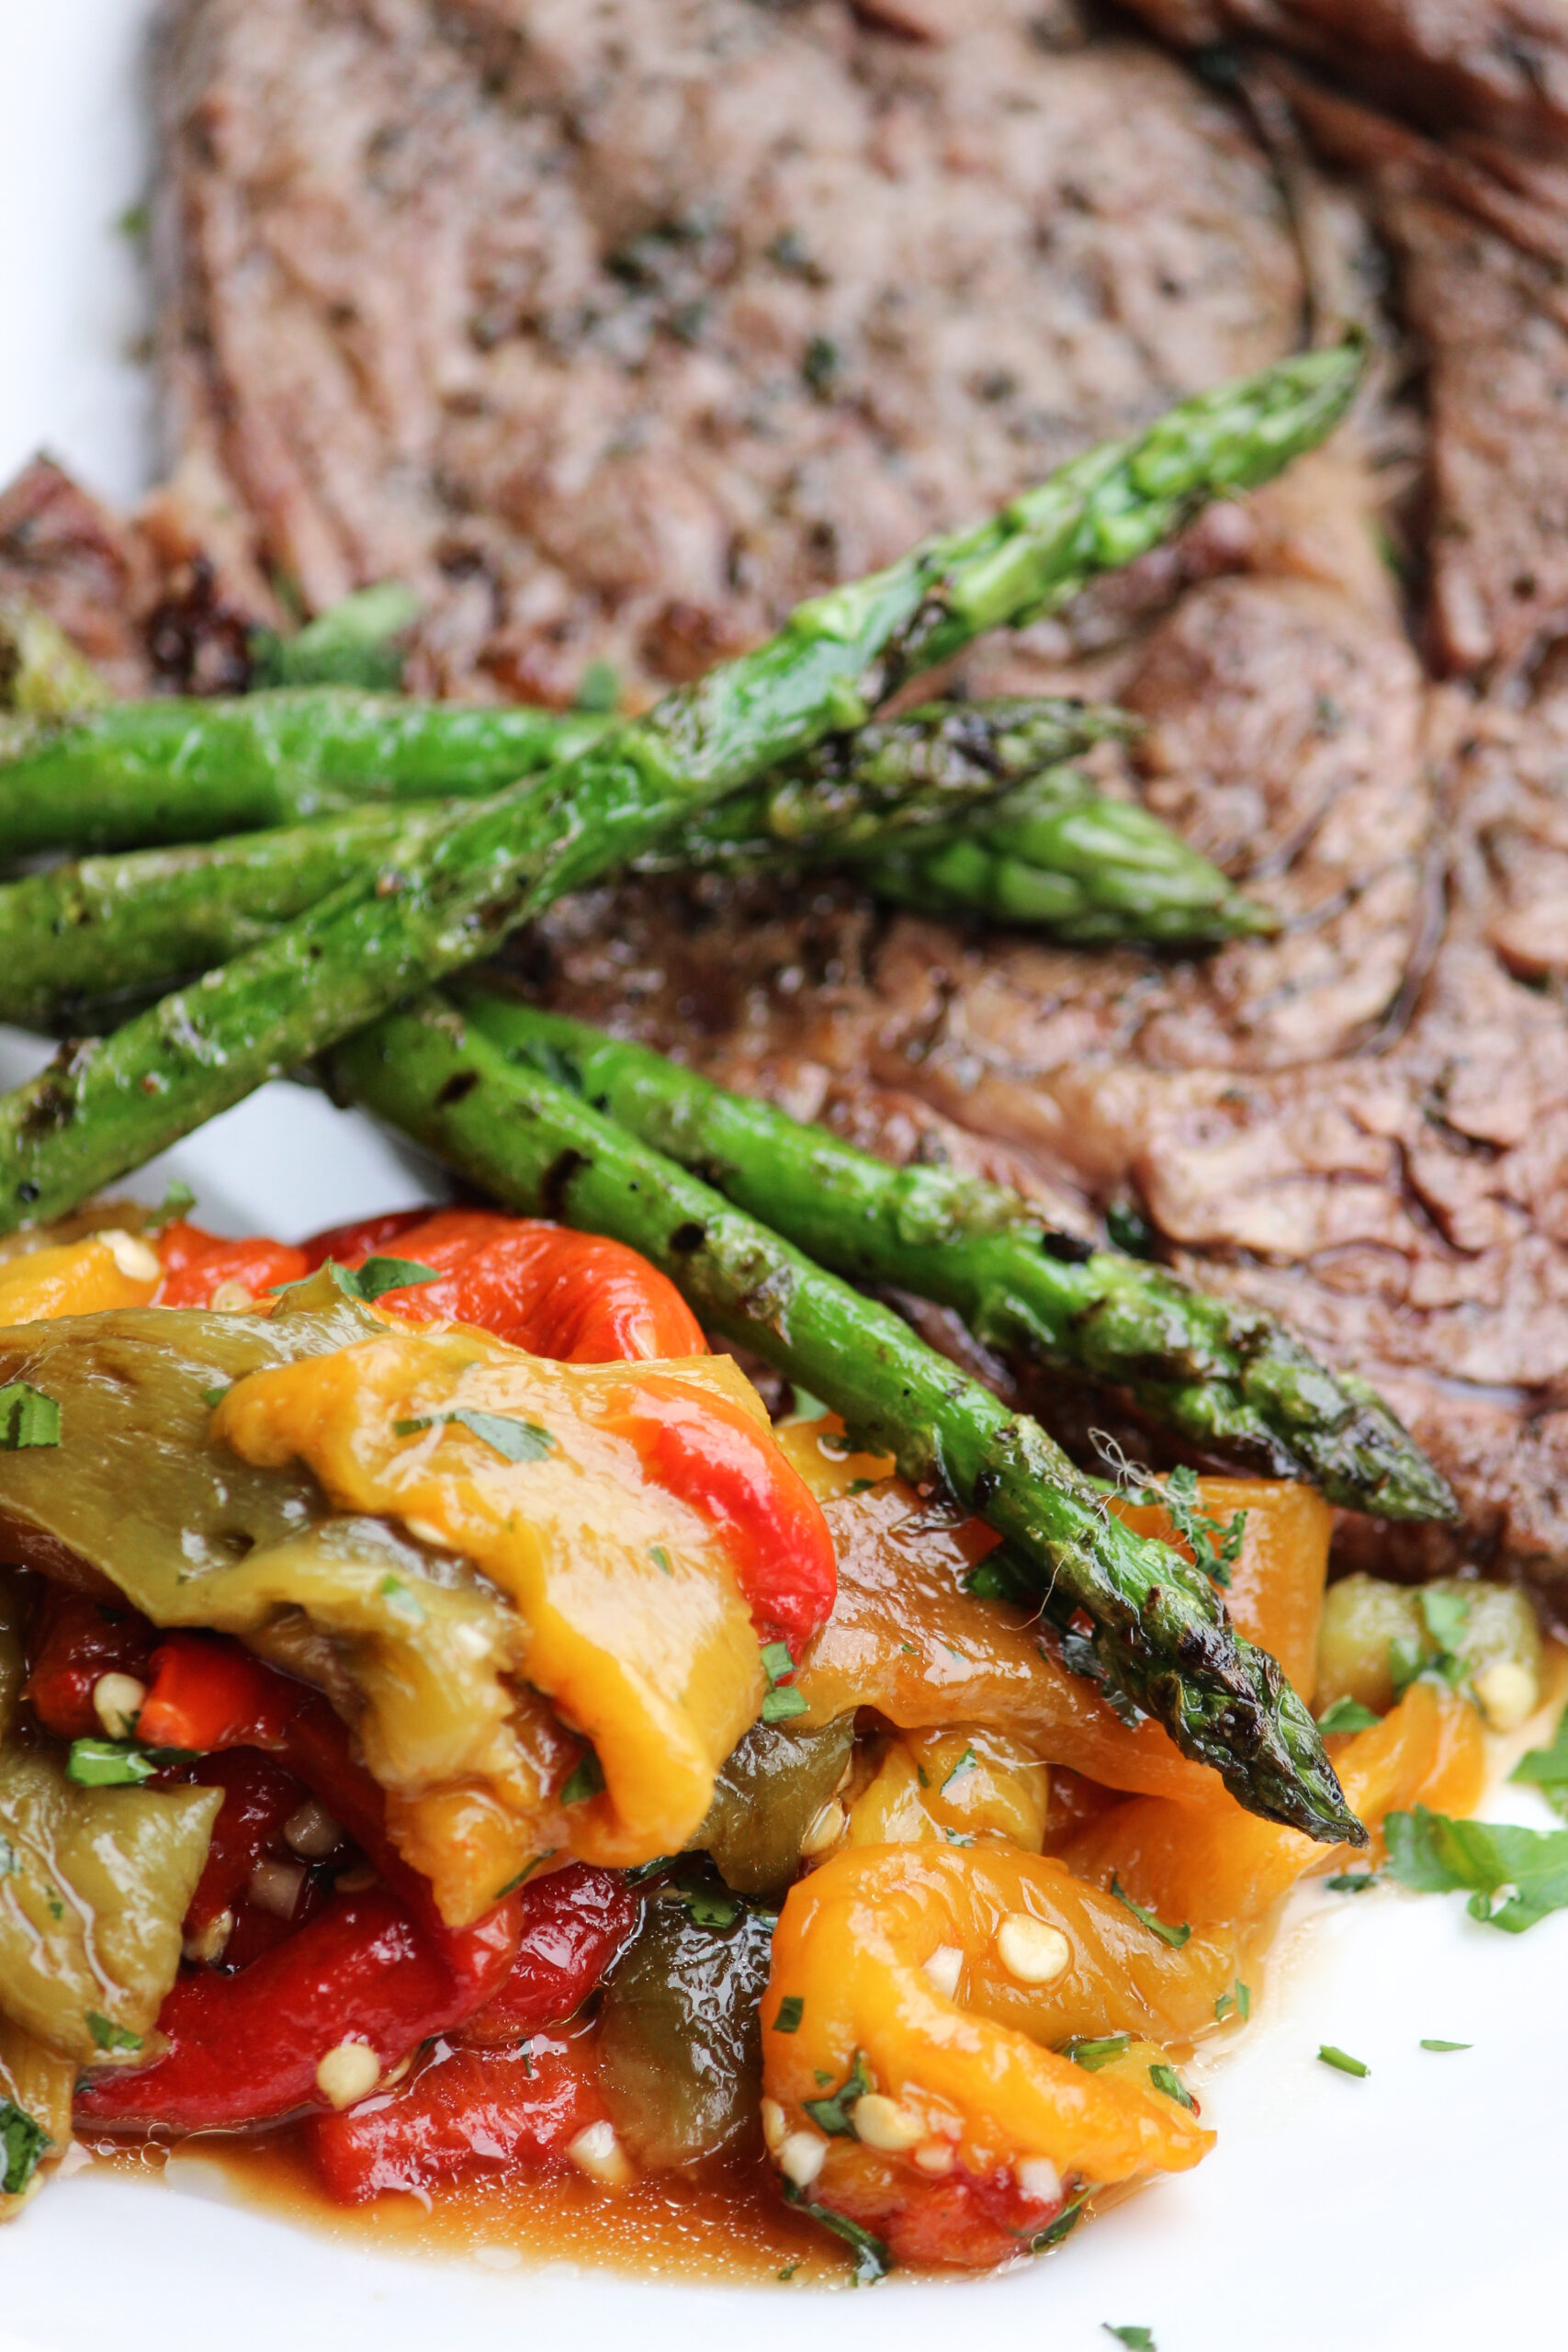
summer food, bbq food, mediterranean food, mediterranean bbq, italian food, italiian bbq, healthy meals, healthy dinner, family meals, side vegetables, roasted peppers, roasted capsicum, grilled asparagus, summer cooking, easy meals, the life harvest, food blog, steak marinade, eye fillet steakThey days are heating up in the UK, so it’s a perfect excuse to light up the barbecue, eat outdoors and soak up the late suns rays. After being in the UK for 8 months we still have not purchased a barbecue so a huge thanks to our lovely neighbours for lending us theirs for dinner! Being Aussie’s, we are well accustomed to and thoroughly enjoy our BBQ dinners. Cooking meat this way really can’t be matched on a grill pan indoors, so we were very excited to be barbecuing after such a long time away from Australia. This meal is a perfect marry of our BBQ lifestyle back in OZ, together with our mediterranean heritage, flavour combinations.

I have to be honest, my favourite thing about barbecuing is that I am not in the kitchen for very long preparing the side dishes while my husband cooks the meat. I look forward to these meals as they are quite relaxed and require very little time to put together, leaving more time to play outdoors with the kids after school.

summer food, bbq food, mediterranean food, mediterranean bbq, italian food, italiian bbq, healthy meals, healthy dinner, family meals, side vegetables, roasted peppers, roasted capsicum, grilled asparagus, summer cooking, easy meals, the life harvest, food blog, steak marinade, eye fillet steak

summer food, bbq food, mediterranean food, mediterranean bbq, italian food, italiian bbq, healthy meals, healthy dinner, family meals, side vegetables, roasted peppers, roasted capsicum, grilled asparagus, summer cooking, easy meals, the life harvest, food blog, steak marinade, eye fillet steakIf you’re looking for a great tasty side dish or a vegetable to add to an antipasto platter, these roasted peppers are sensational. The flavour combination is so mediterranean and authentic to my Italian heritage. It’s a recipe passed to me from my mum which makes it even more special. By slowly roasting them till their skin is charred, they become soft, velvety and super sweet. Dressed with the simplest of dressings, you are all set for your mediterranean BBQ. They might take a little bit of preparation, and you might scold your fingers while you impatiently peel off their roasted skins but they are well worth the effort and last for at least a week in the fridge. If you are having a dinner party, they are the perfect dish to make during the week and will keep beautifully till your party.

IMG_5518

I used a delicious fresh rosemary rub for the meat to jazz up the flavour of plain steak. You can use this rub on so many meat dishes….you really can’t go wrong. Some char-grilled fresh asparagus on the side really ties in the meal beautifully.

summer food, bbq food, mediterranean food, mediterranean bbq, italian food, italiian bbq, healthy meals, healthy dinner, family meals, side vegetables, roasted peppers, roasted capsicum, grilled asparagus, summer cooking, easy meals, the life harvest, food blog, steak marinade, eye fillet steakFor those of you experiencing a cooler climate right now, this meal might be the burst of sunshine you are looking for! 😉
Enjoy!

xxx

Mediterranean BBQ
Recipe Type: Main
Cuisine: Mediterranean
Author: The Life Harvest
Serves: 4 adults
Sweet roasted peppers, marinated steak and char-grilled asparagus make for a delicious & healthy family meal with authentic mediterranean BBQ flavours.
Ingredients
  • 12 Mixed peppers/capsicums
  • Olive oil
  • A large bunch of fresh parsley – finely chopped
  • 1 large garlic clove – finely diced
  • 1 tbsp balsamic glaze
  • 4-5 Rib eye fillet steaks
  • A large bunch of fresh rosemary –
  • Salt and pepper – to season
  • 2 bunches of fresh asparagus
Instructions
  1. *For the peppers*
  2. Pre-heat the oven to 220℃.
  3. Cut the long stalks off the peppers without piercing the skin or cutting the base of the stalk.
  4. Place the peppers upside down on a roasting tray and place them in the top half of the oven. Keep rotating the peppers every so often until their skins are charred, well browned and softened all the way around. Time will vary on your oven.
  5. Remove them from the oven and place inside a double lined plastic bag, tying them off.
  6. Let them sweat off the skin for about 30 minutes, then check to see if the skin is coming away easily. If not, give it some another 30 and carefully pull the skins away from the flesh (take care to not burn yourself!)
  7. While you are peeling the skin, tear up the peppers into rough, bite sized lengths. Discard about half the seeds.
  8. Once peeled, place all the peppers in a bowl and scatter with the diced garlic, chopped parsley, a generous dressing of olive oil, the balsamic glaze and salt and pepper to taste. Amounts of the seasonings can vary depending on your preference. Store the peppers in the fridge until needed.
  9. *For the steak*
  10. In a processor, grind up the fresh bunch of rosemary untill almost dust size. Mix the rosemary in a small bowl with olive oil. This will become your marinade and the baste mixture for the meat.
  11. Removing the steaks from the fridge, leave them to sit on the bench till they are at room temperature before cooking. Baste the steaks with the rosemary mixture, salt and pepper and place on a hot barbecue. Cook the steak to your liking and baste the meat every so often to keep it moist. Baste it for the last time once it has cooked and leave it to rest for 5 minutes before eating.
  12. *For the asparagus*
  13. Place the asparagus in a bowl and toss lightly with olive oil, salt and pepper.
  14. Place them on a hot grill pan or on the barbecue, if you have space alongside the meat.
  15. Keep turning them until charred and they are cooked to your liking.
Notes
Keep the roasted peppers in an airtight container for up to a week. Ensure you coat them with a generous amount of olive oil.


Roasted Whole Butternut Squash

Roasted Whole Butternut Squash

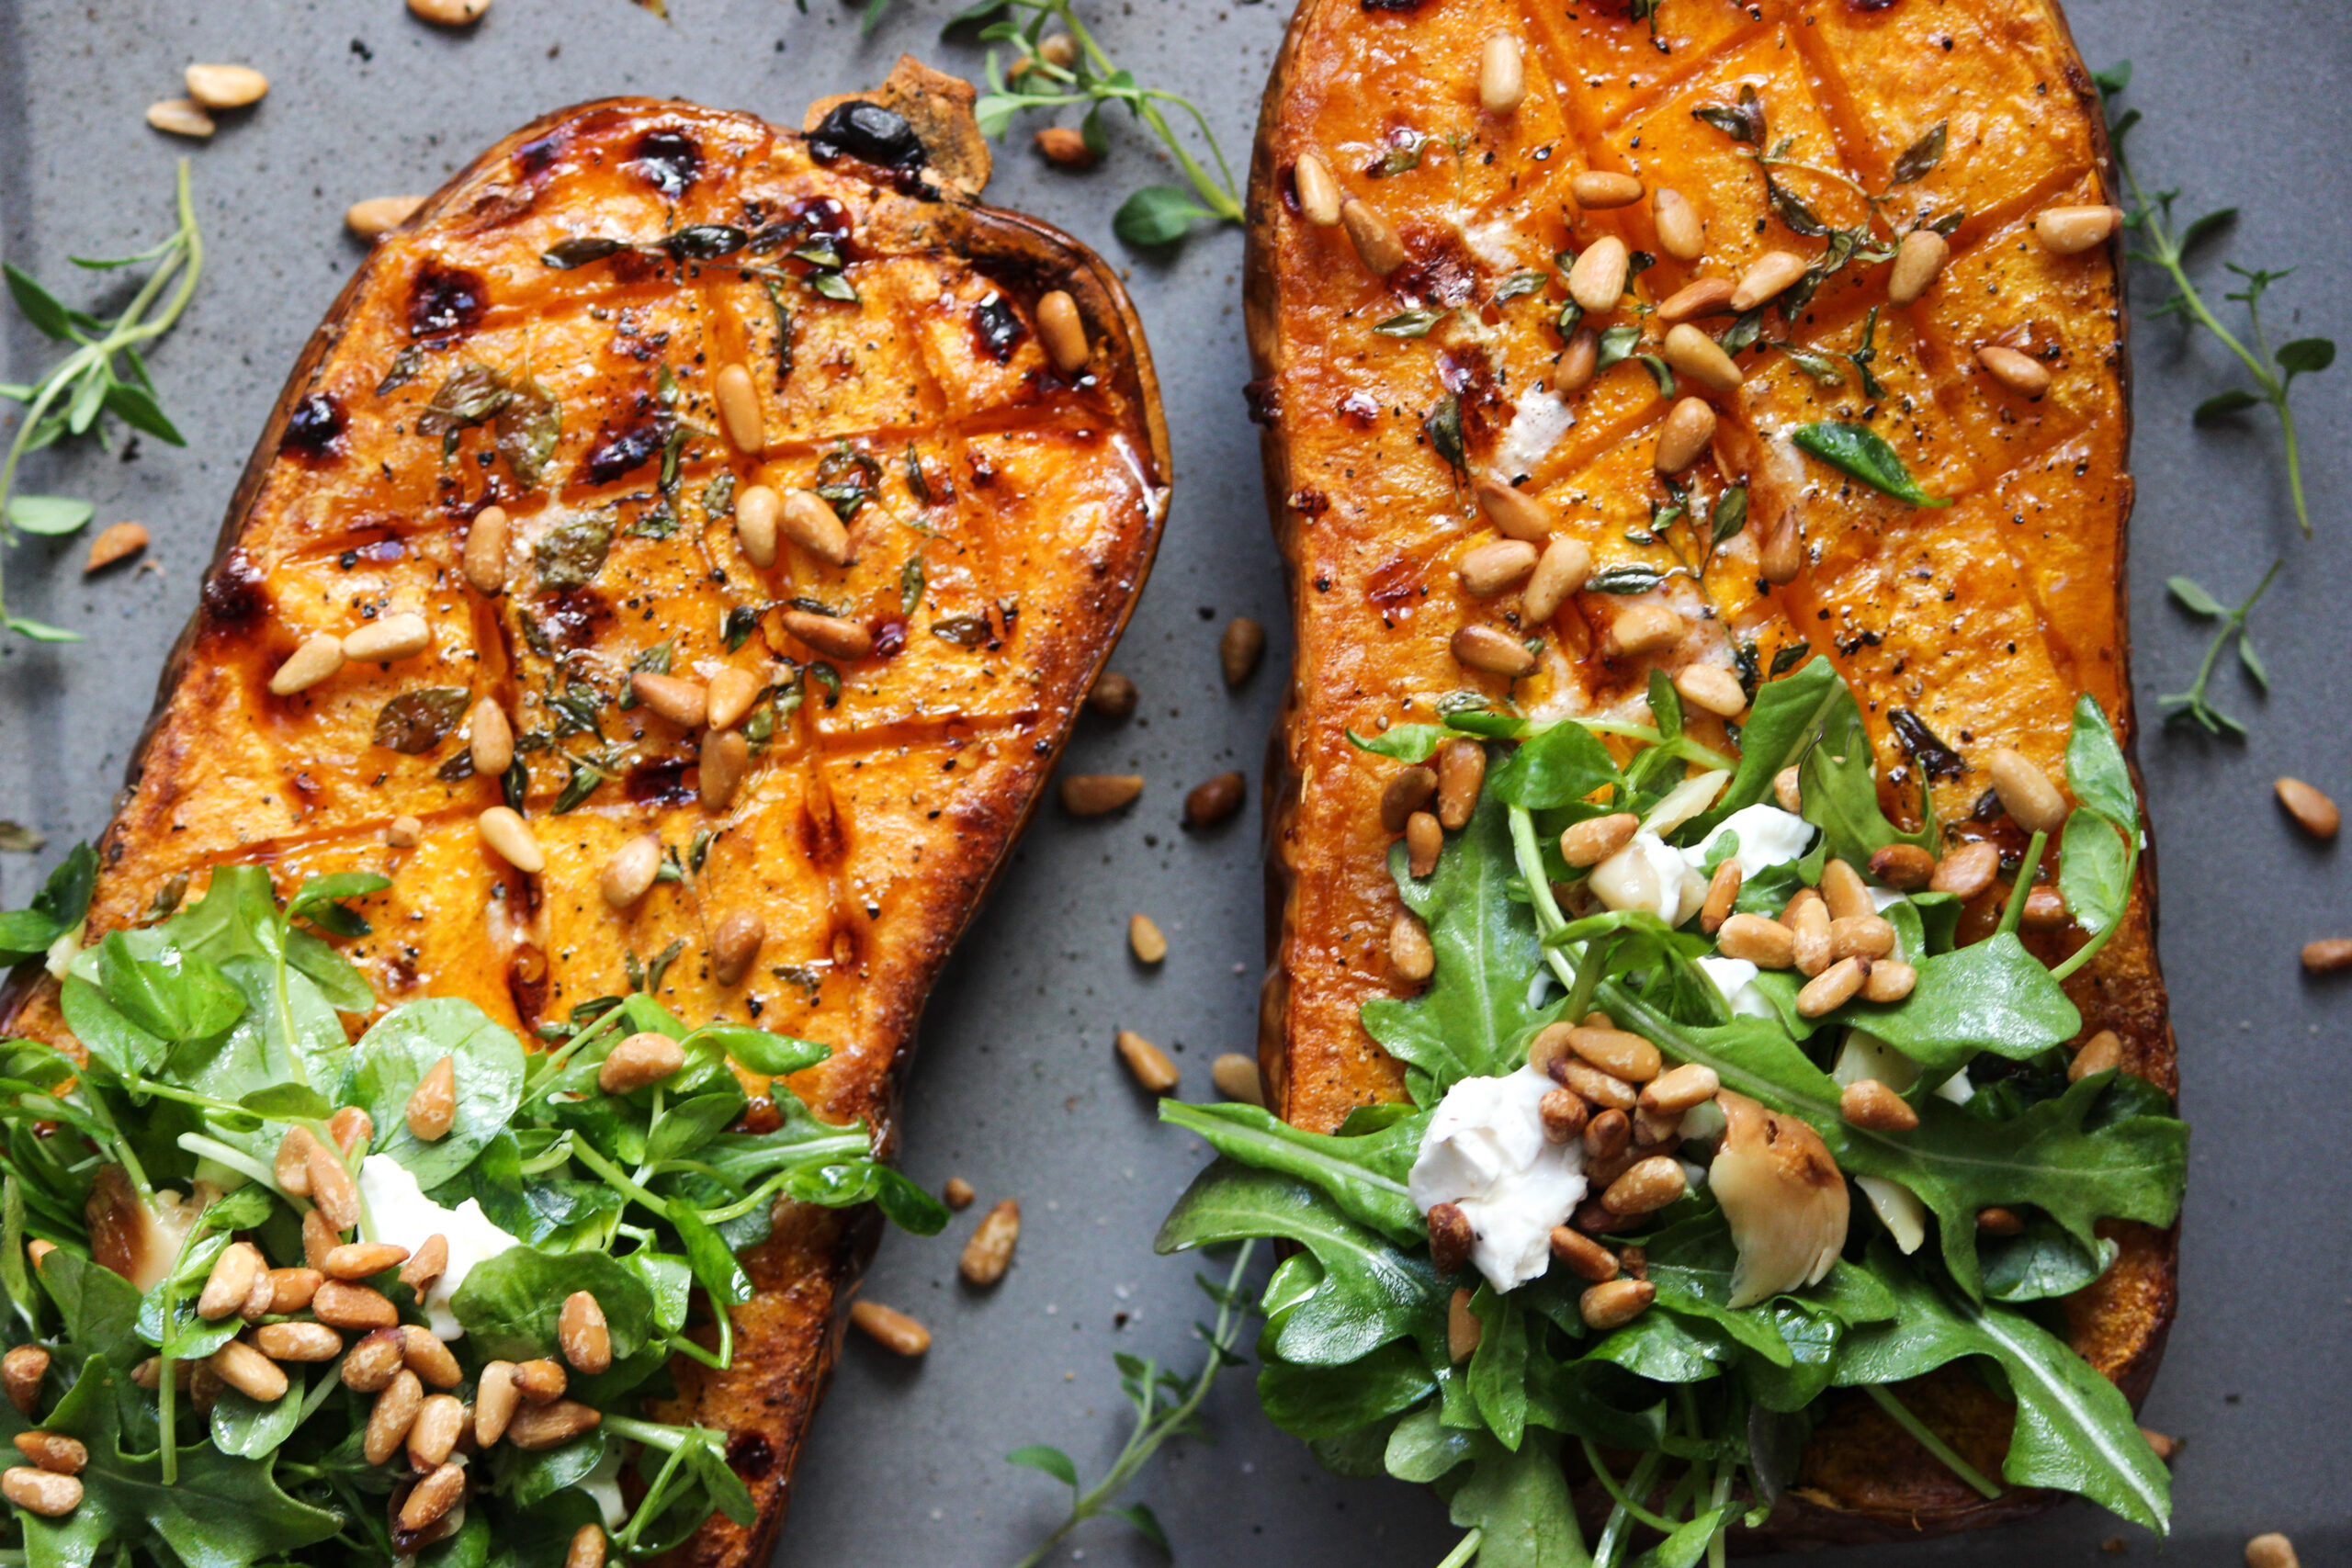
I have to introduce you to one of my current favorite veggie dishes! Welcome my beautiful, whole roasted butternut squash, stuffed with rocket, pea shoots, goats cheese and sprinkled with pine nuts. It looks and sounds impressive but the taste is even more incredible. Butternut…

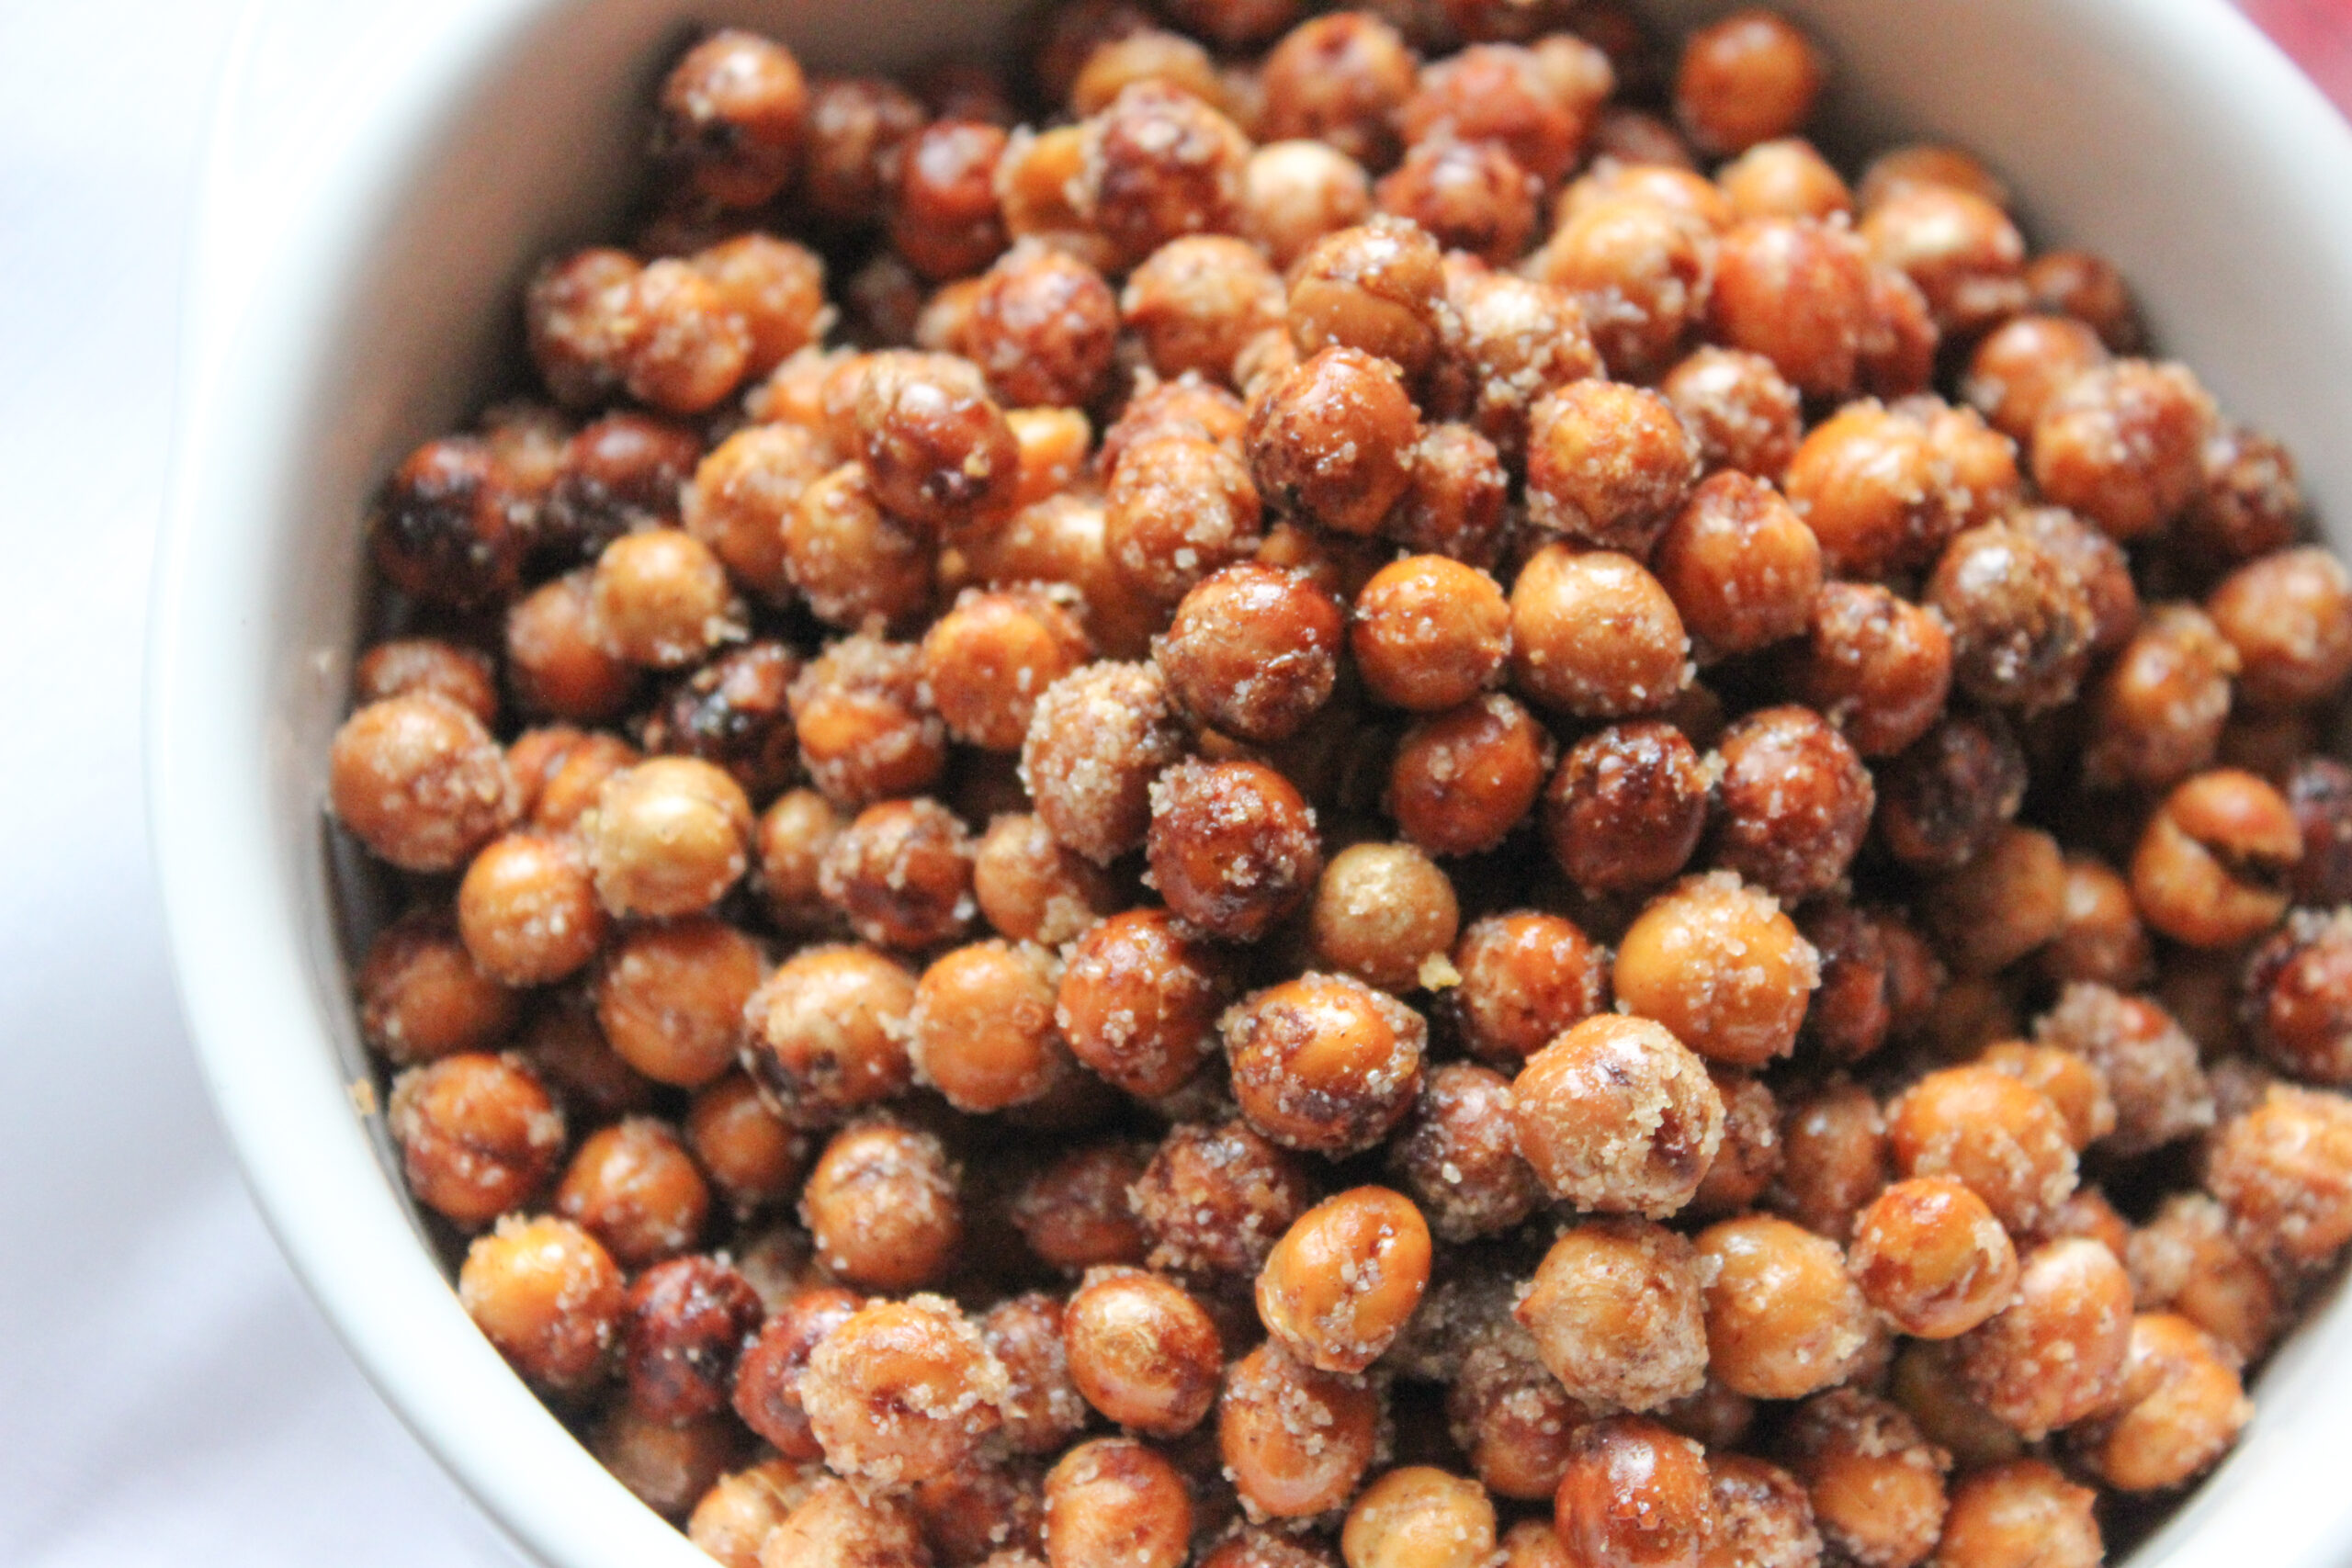
Roasted Chickpeas

Roasted Chickpeas

I know what you’re thinking…. chickpeas? Yes! Chickpeas! I just love these nutrient dense little darlings. Cooked in stews to add bulk and nutrients, in salads for the creamy texture and crunch, the main ingredient in my favorite dip, hummus and now….. on their own,…