
The festive season is upon us and I just couldn’t help myself but jump right in! I have been dying to make some chocolate bark, in particular because you get to flavour it in any way you like, the options are endless! Plus it is just such an enjoyable creative process to make something, which really is so simple, look SO beautiful. My first thought on this little DIY project was that they would make the perfect handmade gift for friends and family at a christmas party. I was imagining the table set, with one of these little chocolate parcels sitting on everyone’s napkin. Not only beautiful as a decoration, but it also doubles as a thoughtful, personal treat for each individual. If you want to really get creative, you can flavour and decorate each block to suit each person. Whilst the ones I have made are quite pretty and sophisticated, it would be also fun to create some for the kiddies, decorated with all sorts of sweets. 😉

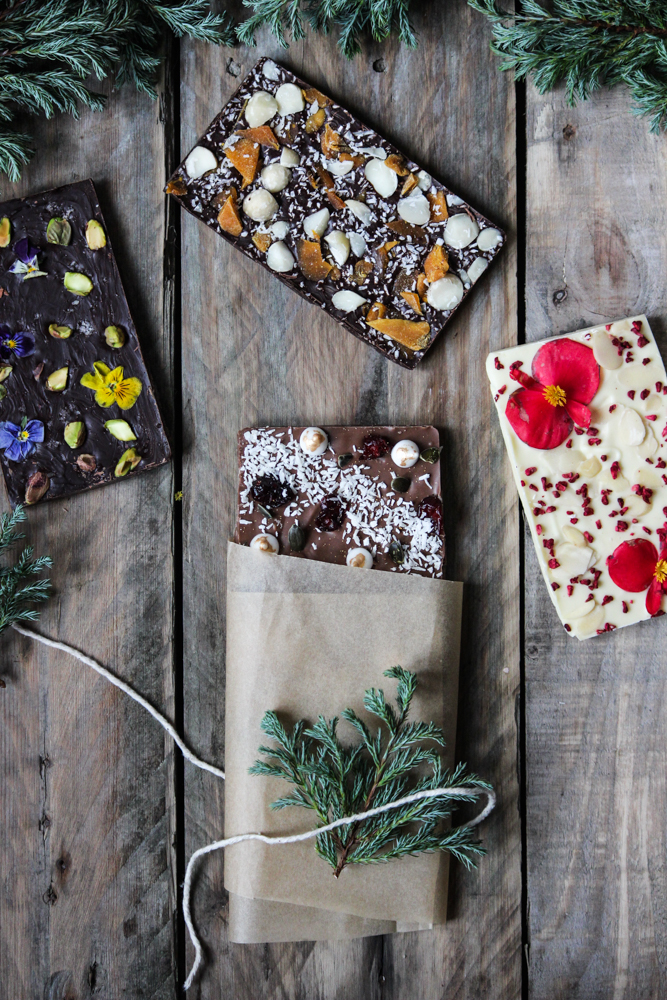
I love using edible flowers, don’t they look adorable! The one above I grated some orange rind into the melted chocolate and decorated it with pistachio nuts and a sprinkle of sea salt before it set.

I call this one my tribute to Australia. The dried mango, dessicated coconut and macadamia nuts remind me so much of my home, in particular the state of Queensland, where mangos and macadamia’s are in abundance this time of year. This was also my favorite flavour combination as I jam-packed it with toppings, as you can see. Something I highly recommend you do too!

As you will see in the recipe, I have tempered the chocolate using the microwave method. You can choose whether you want to temper or not, It’s really not going to affect the outcome too much, unless you are in a super hot climate, your chocolate might not hold. To be scientifically correct, chocolate tempering is best done with a thermometer over a double boiler. I find that too fussy so the microwave method works well for me. To find out more, just google ‘tempering chocolate’. However, to keep this activity fun, don’t complicate it too much. It really is more about having fun with the toppings! 😉 I hope you enjoy making (and eating) these as much as I have. Happy festive season! xxx

- A combination of white, milk and/or dark chocolates
- A variety of toppings including; dried fruit, edible flowers, sea salt, nuts, sweets, pretzels, chilli flakes etc…
- A heat proof, microwave safe bowl
- Baking trays/baking tins/moulds. (I used loaf tins to set each bar individually)
- Select the chocolate of your choice and chop 3/4 of it into rough chocolate chip pieces. Chop the remaining 1/4 even finer for use later. Put the 3/4 mixture into a heat proof bowl and microwave on a medium/high temperature in 10 second increments, stiring well after each round. Do this until the chocolate is almost melted but with some small solid bits still in it. (Don’t be tempted to give it a long blast as this will heat the chocolate too much and it may seize.)
- Take the remaining 1/4 of the chocolate and add it into the almost, melted chocolate bowl. Continue to microwave in 5-10 second increments until almost completely melted. The aim is to have all the chocolate melted whilst trying to keep the lowest temperature you can so as to avoid it going out of temper.
- Once melted, line your trays/tins with baking paper or alluminium foil and pour in the chocolate. Decorate the top while the chocolate is still wet. Leave it to set at room temperature until hardened. Remove it carefully from the moulds and try your best not to eat them all! 😉