Tag: family snacks

Goats Cheese and Pea Risotto with Pancetta Pangrattato

Goats Cheese and Pea Risotto with Pancetta Pangrattato

I have been meaning to post this recipe for AAAAGES!!! My go to, traditional, simple Risotto with a bit of a flavour twist. I am a bit nutty for risotto! I love it’s oozyness, warmth and delicate al dente bite when cooked ‘just right!’ My…

The Best Ever Bircher Muesli

The Best Ever Bircher Muesli

Without mucking about, I honestly am in love with this breakfast. The beauty of bircher muesli is that it is really open to adjusting the quantities of milk, water and yoghurt as you prefer. I like mine a little more milky versus my husband who…

Chocolate Bark

Chocolate Bark

chocolate bark, chocolate gift, handmade chocolate, chocolate treat, DIY food gifts, DIY gifts, chocolate blocks, chocolate toppings, festive gifts, handmade treats, the life harvest, food blog, christmas, family, cooking with children

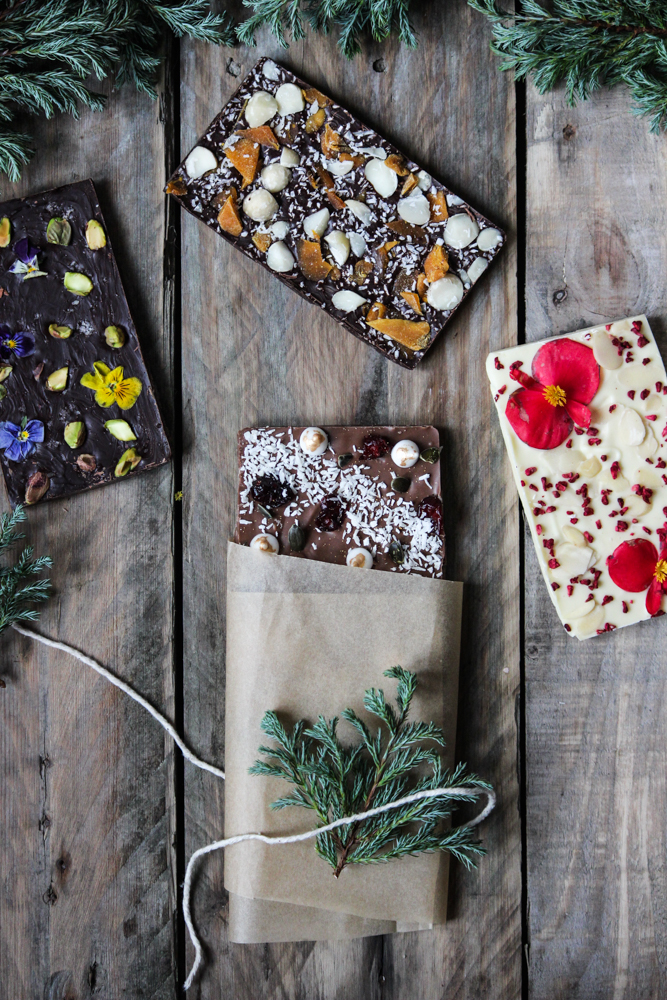
The festive season is upon us and I just couldn’t help myself but jump right in! I have been dying to make some chocolate bark, in particular because you get to flavour it in any way you like, the options are endless! Plus it is just such an enjoyable creative process to make something, which really is so simple, look SO beautiful. My first thought on this little DIY project was that they would make the perfect handmade gift for friends and family at a christmas party. I was imagining the table set, with one of these little chocolate parcels sitting on everyone’s napkin. Not only beautiful as a decoration, but it also doubles as a thoughtful, personal treat for each individual. If you want to really get creative, you can flavour and decorate each block to suit each person. Whilst the ones I have made are quite pretty and sophisticated, it would be also fun to create some for the kiddies, decorated with all sorts of sweets. 😉

chocolate bark, chocolate gift, handmade chocolate, chocolate treat, DIY food gifts, DIY gifts, chocolate blocks, chocolate toppings, festive gifts, handmade treats, the life harvest, food blog, christmas, family, cooking with children

I love using edible flowers, don’t they look adorable! The one above I grated some orange rind into the melted chocolate and decorated it with pistachio nuts and a sprinkle of sea salt before it set.

chocolate bark, chocolate gift, handmade chocolate, chocolate treat, DIY food gifts, DIY gifts, chocolate blocks, chocolate toppings, festive gifts, handmade treats, the life harvest, food blog, christmas, family, cooking with children

I call this one my tribute to Australia. The dried mango, dessicated coconut and macadamia nuts remind me so much of my home, in particular the state of Queensland, where mangos and macadamia’s are in abundance this time of year. This was also my favorite flavour combination as I jam-packed it with toppings, as you can see. Something I highly recommend you do too!
chocolate bark, chocolate gift, handmade chocolate, chocolate treat, DIY food gifts, DIY gifts, chocolate blocks, chocolate toppings, festive gifts, handmade treats, the life harvest, food blog, christmas, family, cooking with children

As you will see in the recipe, I have tempered the chocolate using the microwave method. You can choose whether you want to temper or not, It’s really not going to affect the outcome too much, unless you are in a super hot climate, your chocolate might not hold. To be scientifically correct, chocolate tempering is best done with a thermometer over a double boiler. I find that too fussy so the microwave method works well for me. To find out more, just google ‘tempering chocolate’. However, to keep this activity fun, don’t complicate it too much. It really is more about having fun with the toppings! 😉 I hope you enjoy making (and eating) these as much as I have. Happy festive season! xxx

chocolate bark, chocolate gift, handmade chocolate, chocolate treat, DIY food gifts, DIY gifts, chocolate blocks, chocolate toppings, festive gifts, handmade treats, the life harvest, food blog, christmas, family, cooking with children

Chocolate Bark
Recipe Type: Dessert / Sweet Treat
Author: The Life Harvest
Cook time:
Total time:
If you fancy a bit of DIY to mark a special occasion, this chocolate bark recipe idea is just for you! Easily adaptable and open to your imagination, you will enjoy both making and eating these beauties!
Ingredients
  • A combination of white, milk and/or dark chocolates
  • A variety of toppings including; dried fruit, edible flowers, sea salt, nuts, sweets, pretzels, chilli flakes etc…
  • A heat proof, microwave safe bowl
  • Baking trays/baking tins/moulds. (I used loaf tins to set each bar individually)
Instructions
  1. Select the chocolate of your choice and chop 3/4 of it into rough chocolate chip pieces. Chop the remaining 1/4 even finer for use later. Put the 3/4 mixture into a heat proof bowl and microwave on a medium/high temperature in 10 second increments, stiring well after each round. Do this until the chocolate is almost melted but with some small solid bits still in it. (Don’t be tempted to give it a long blast as this will heat the chocolate too much and it may seize.)
  2. Take the remaining 1/4 of the chocolate and add it into the almost, melted chocolate bowl. Continue to microwave in 5-10 second increments until almost completely melted. The aim is to have all the chocolate melted whilst trying to keep the lowest temperature you can so as to avoid it going out of temper.
  3. Once melted, line your trays/tins with baking paper or alluminium foil and pour in the chocolate. Decorate the top while the chocolate is still wet. Leave it to set at room temperature until hardened. Remove it carefully from the moulds and try your best not to eat them all! 😉


No Bake Muesli Bars

No Bake Muesli Bars

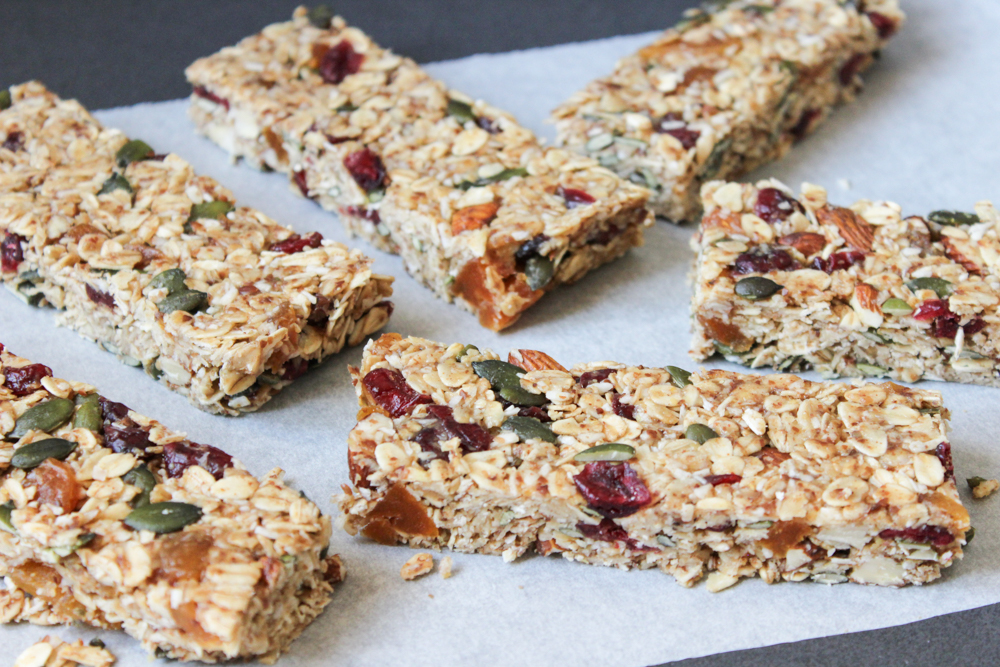
These days, a lot of us are making our own homemade muesli bars, protein balls and healthy snacks. There is an endless list of ingredients you can combine to create your own super-food bar and tailor it to your and your family’s taste, diet and…

Raw Energy Bites

Raw Energy Bites

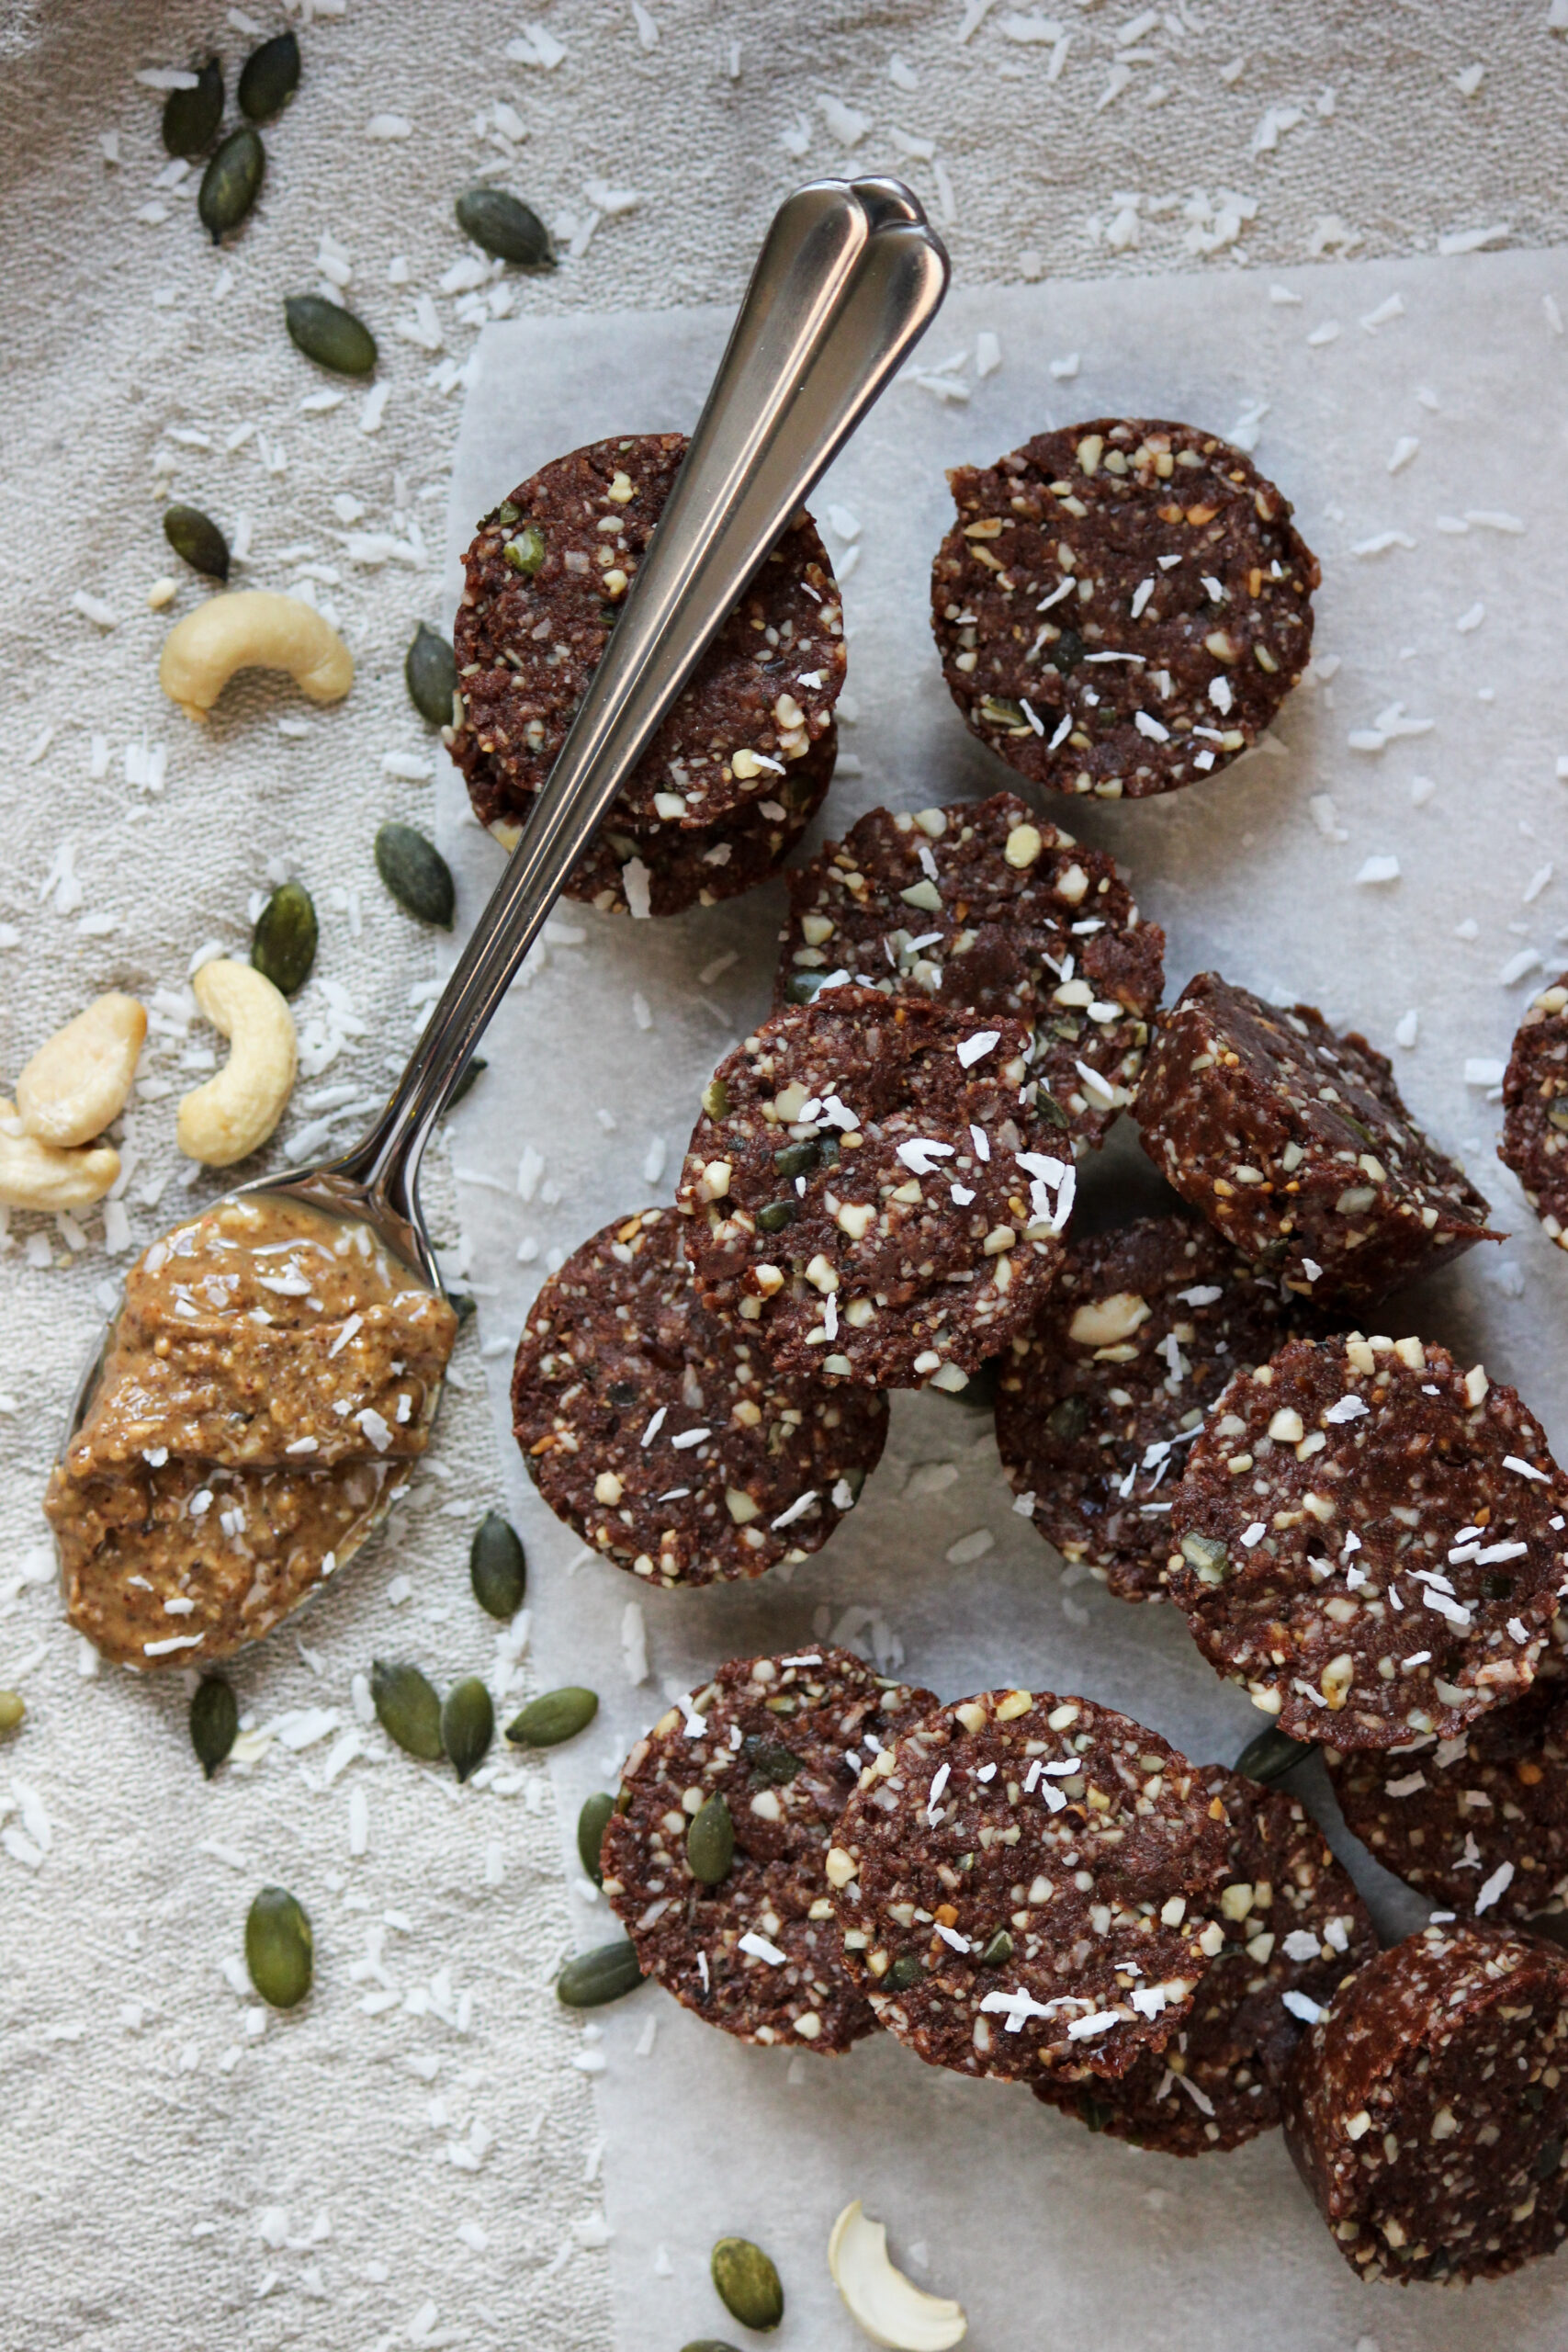
I love to have an easy, healthy snack in the fridge to whip out for my family when they start to whine at me for food in-between meals. I find if I don’t have some of these raw energy bites made up for the kids,…

Polenta Chips

Polenta Chips

Polenta chips, gluten free sides, the life harvest, food blog, gluten free appetizers, polenta, fried polenta, crispy chips, crispy polenta

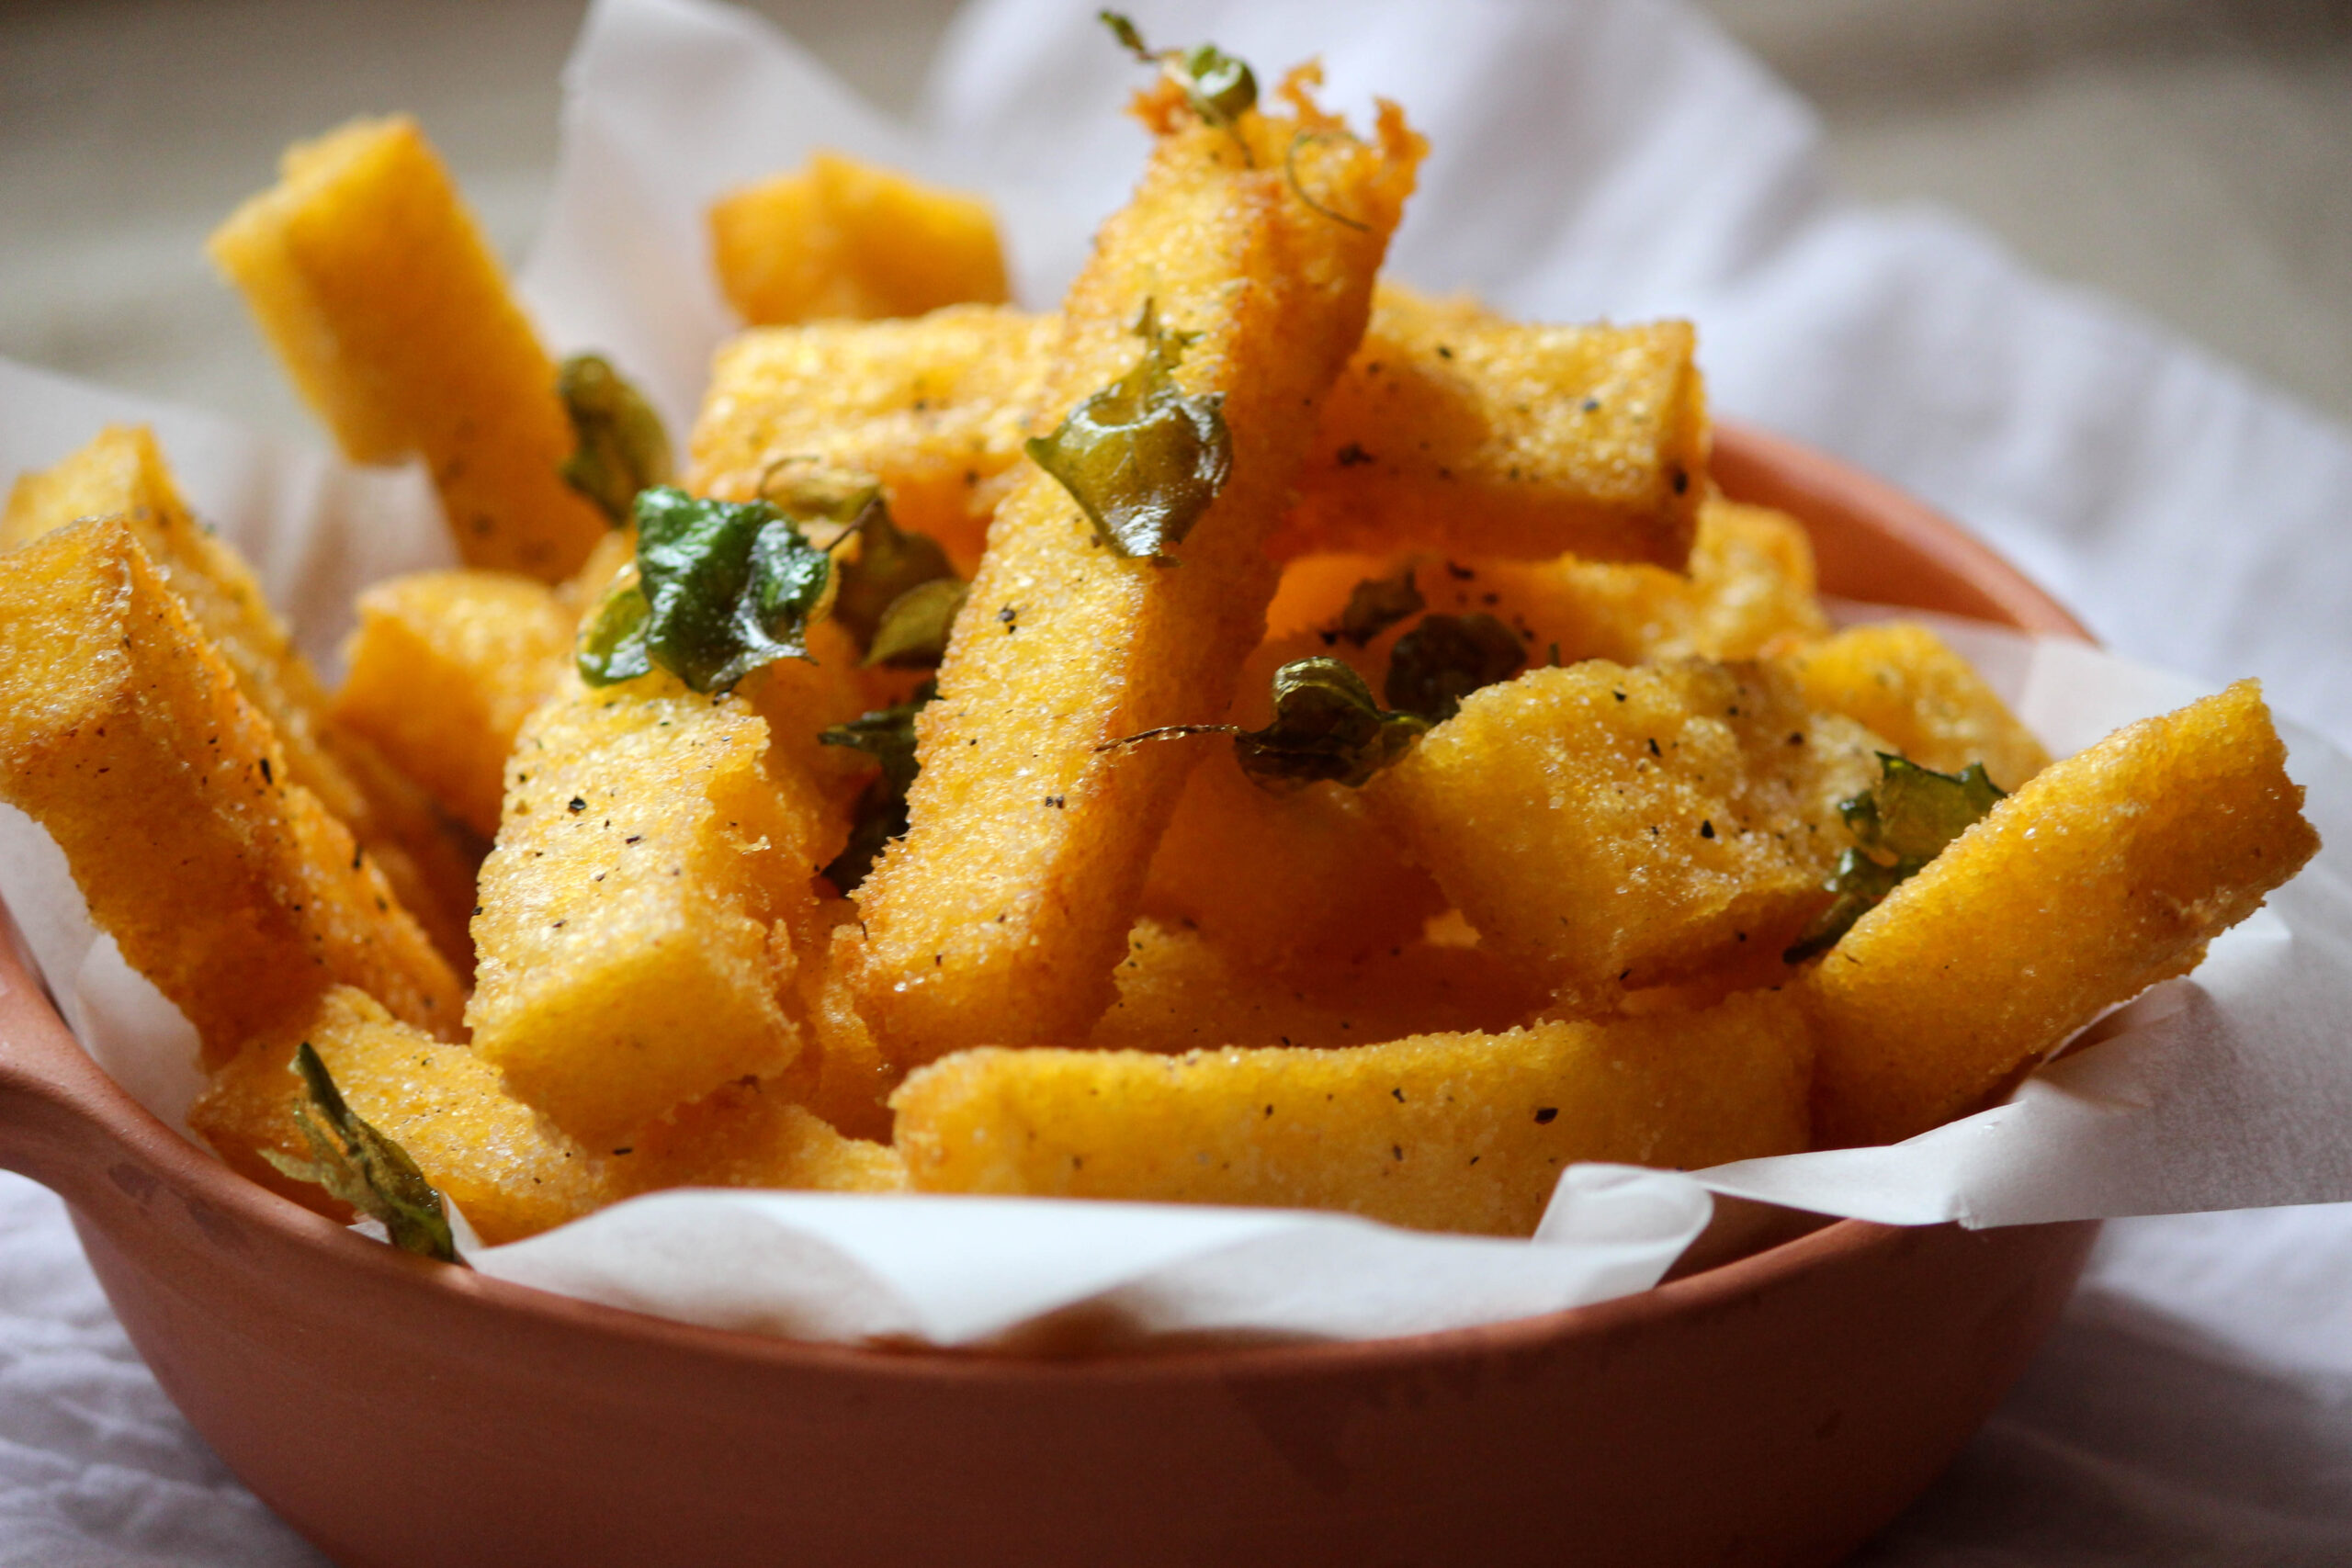
I need not even speak about how good these Polenta chips are! But I will! I think they taste equally as devine as they look. I am HUGE polenta fan! Coming from an Italian family, polenta replaced the ‘mashed potato’ sitting under our slow cooked, saucy meals. However, it wasn’t until later in life that I tasted it fried, as a chip!!! Holey Moley! I cannot ever turn down a polenta chip. I am totally hooked! On its own or dipped in a marinara sauce, It doesnt matter!

The thing is, not only do they taste great but they are so versatile. Great as a side to any meal, or an appetizer at a dinner party. The added bonus is that they are also gluten-free, as polenta is essentially cornmeal. Before you ask, ‘is it necessary to add the butter and cheese’, I will shout, YES! You are buillding flavours here! It is necessary to enjoy every mouthful of these beauties at their utmost best!

Below, I have showed you how I prepared my cooked polenta to set in a baking tray. Don’t forget, polenta swells quite a lot once it’s in water so pour it slowly into the water and stop just before your desired consistency is reached, as it will set thicker. I used 250g of polenta to fill this 1cm deep, 34cm x 27cm baking tray. It made more than enough to feed my family of five, with left overs.

IMG_4276

A little naughty secret of mine is to not set the cooked polenta chips onto a paper towl to absorb the oil after cooking. I have found that the paper towl softens the crunch as the heat and the oil combine. Instead, I lay them ontop of a wire baking rack and place the paper towels underneath to catch the drips.  I do this when I make schnitzel too! I know what you’re thinking…..’oh its so fatty’….I say…. ‘ Trust me! You will never look back! ‘:) I know for certain that these polenta chips are far prefered in my family to potato chips, plus, they are equally as simple to make and most definitly more delicious! I would love to hear your thoughts.

Please Enjoy! xxx

Polenta chips, gluten free sides, the life harvest, food blog, gluten free appetizers, polenta, fried polenta, crispy chips, crispy polenta   Polenta chips, gluten free sides, the life harvest, food blog, gluten free appetizers, polenta, fried polenta, crispy chips, crispy polenta

Polenta Chips
Recipe Type: Side or appetizer
Author: The Life Harvest
Cook time:
Total time:
Serves: approx 35 chips
A wonderful substitute to fried, potato chips. In fact these gluten-free, polenta chips are one hundred times better! Soft on the inside, crunchy and salty on the outside. Enjoy them as a tasty appetizer or side to any meal.
Ingredients
  • One packet of quick cook polenta – amount is your choice. I used 250g to fill my baking tray.
  • Salted boiling water
  • A large knob of butter
  • 30g parmesan cheese – grated
  • Small bunch of oregano or sage
  • Vegetable oil – to fry
  • Salt & pepper
Instructions
  1. In a pot, cook the polenta as per packet instructions. Quick polenta should take about 5 minutes to cook in boiling water. Once you have added the polenta, make sure you turn the heat down to a low/medium heat and stir the pot continuously. It is cooked when the mixture is thickened and the water is absorbed. It should still easy to stir.
  2. Stir in the grated parmesan cheese and knob of butter till combined.
  3. Remove from the stove and pour the mixture into a baking tray of choice.
  4. Smooth the polenta so it is all one level and leave it to cool on the bench for about an hour, then pop it in the fridge to set for another hour.
  5. Once set, remove the tray from the fridge and flip it carefully onto a chopping board. (It might need a bit of a jiggle to release).
  6. Use a sharp knife to cut the polenta into chip sizes of your choice. Mine were about 1cm x 3cm in size.
  7. Pour enough oil into a frying pan so that it reaches 1cm up the side. Heat the oil to a medium/high heat and cook the polenta chips in batches.
  8. Keep moving them around as they tend to want to come together and stick.
  9. Turn them until each side is golden brown.
  10. Remove them from the oil and place on a wired baking rack so the excess oil drips off. Place some paper kitchen towel underneath to catch the oil.
  11. Repeat the frying process until all the chips are cooked.
  12. Add a few leaves of your chosen herb into the hot oil to fry. Remove when crispy.
  13. Season the chips with salt, pepper and the crunchy herbs. Eat the chips while they are hot!


Raw Caramel Cups

Raw Caramel Cups

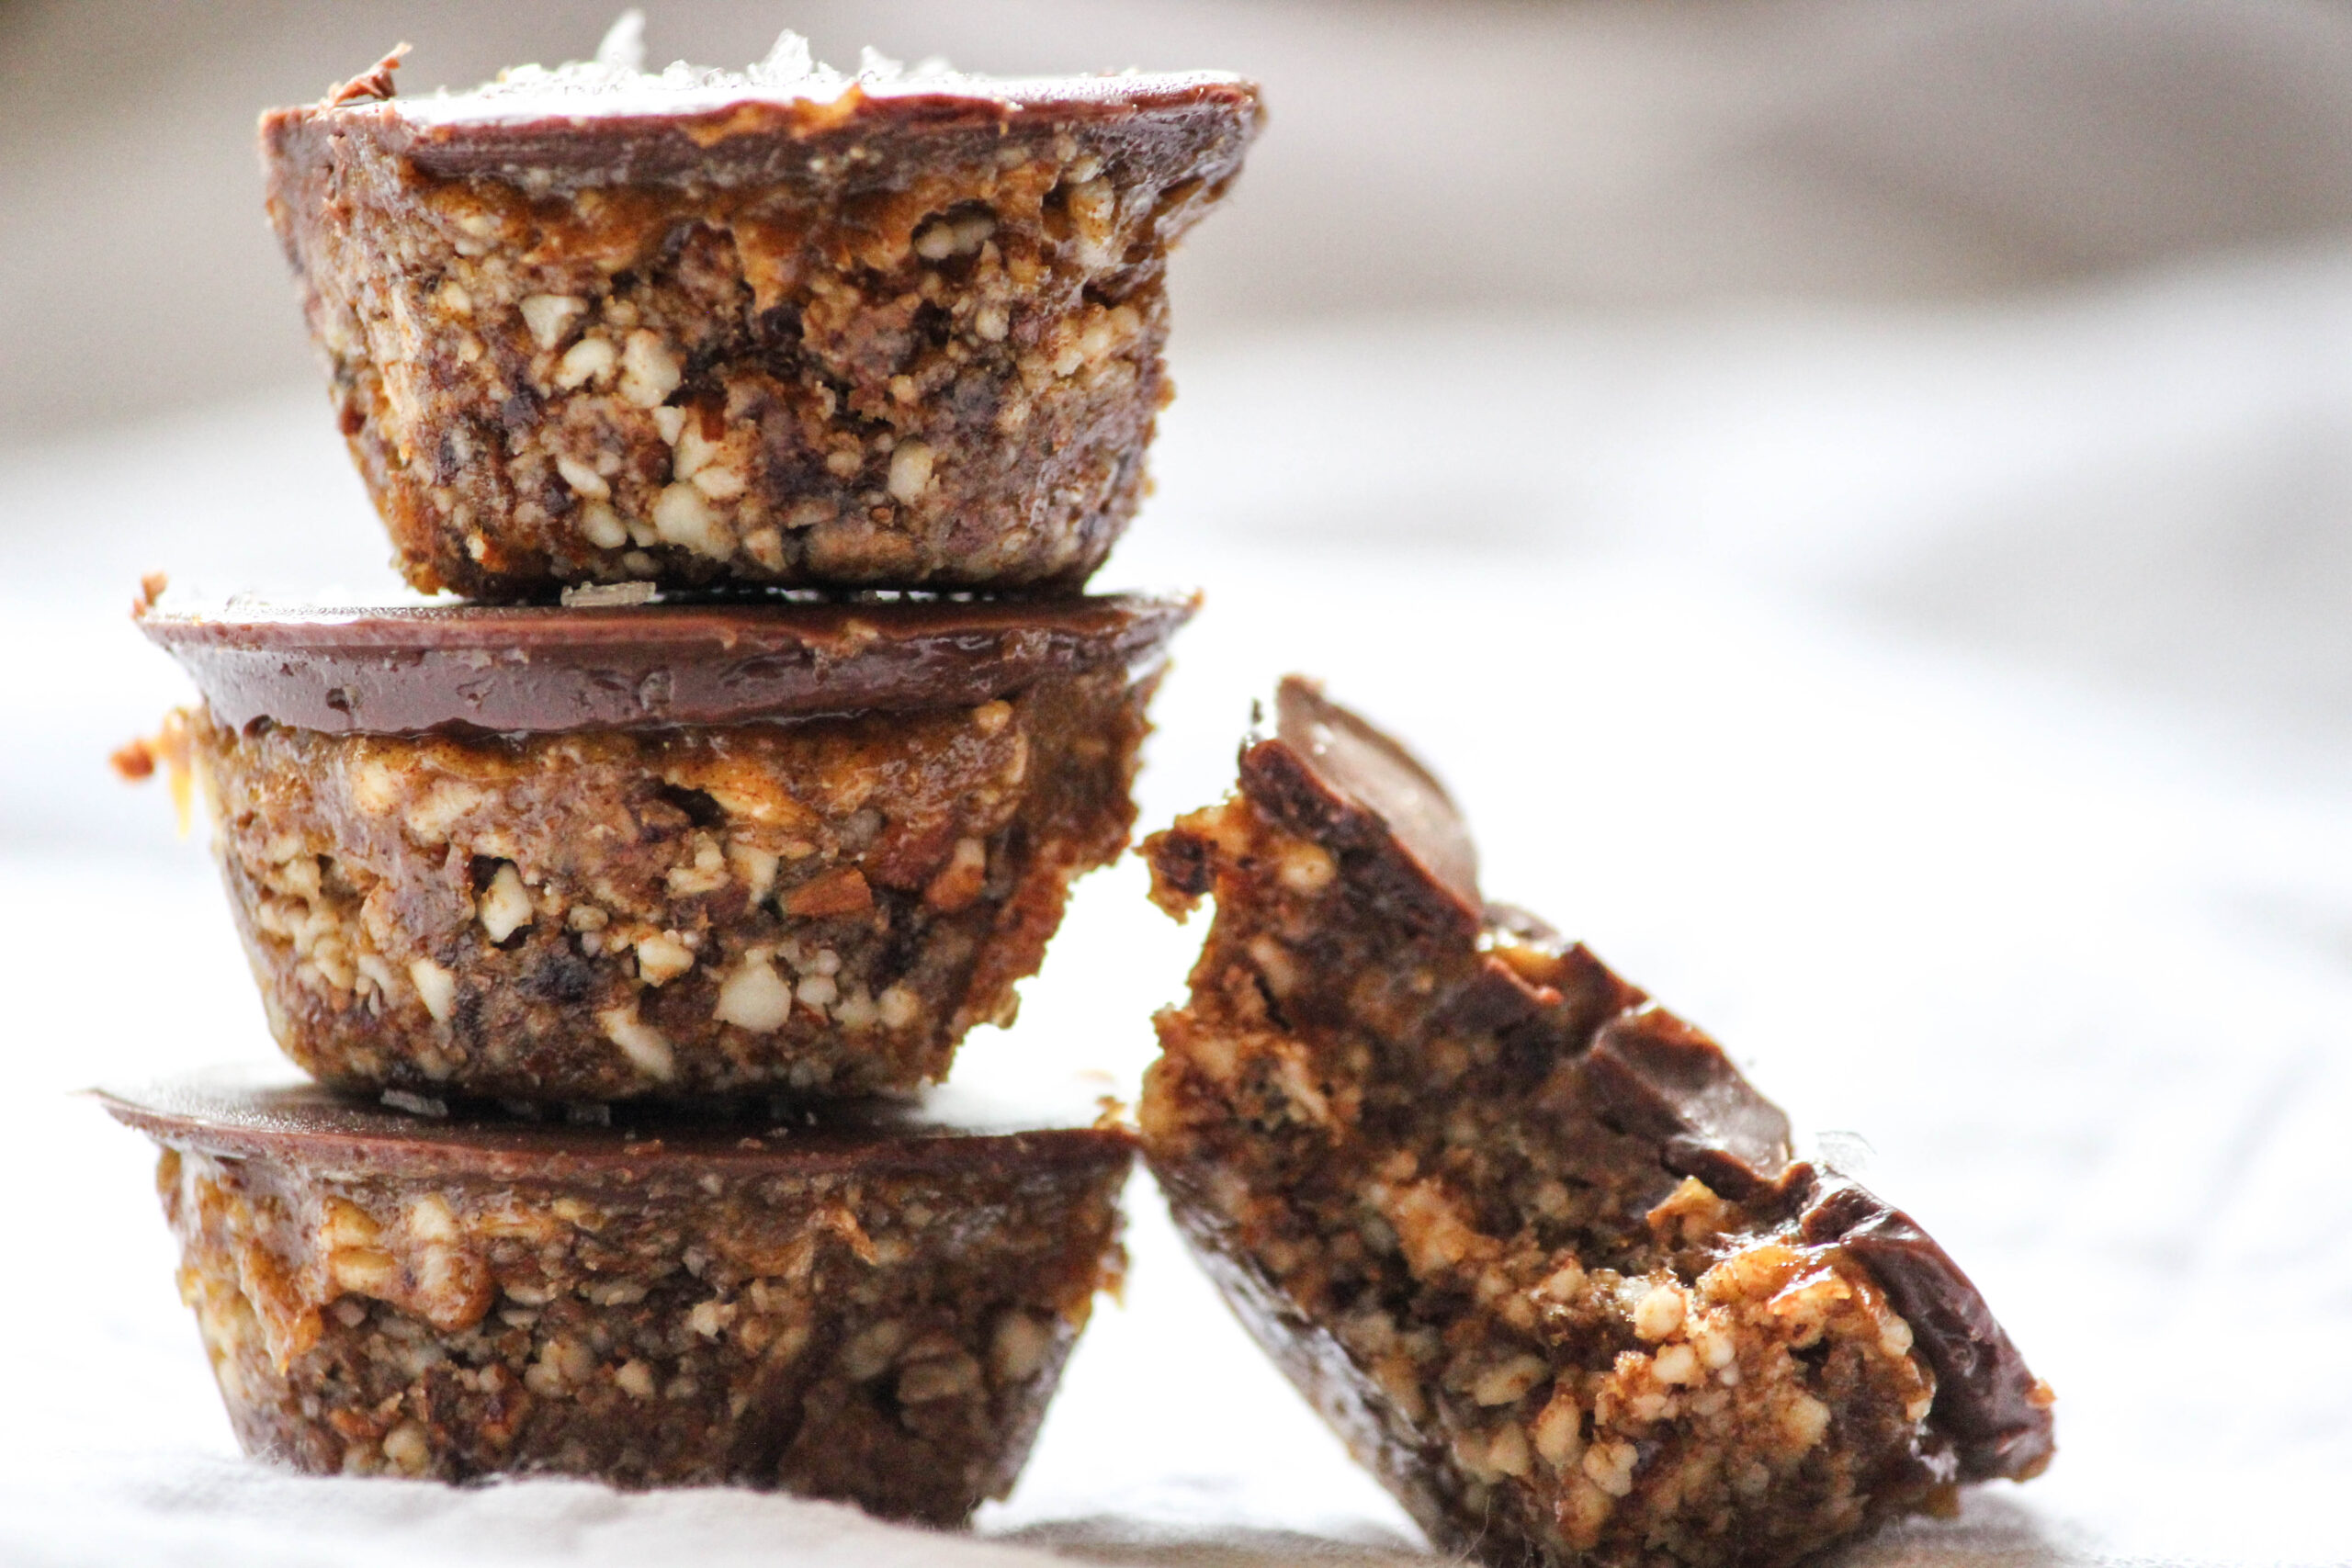
I am so excited to share this recipe with you!!! These would have to be my favourite raw, healthy snacks on the go.  In fact, as I write this post, I am sampling my fourth caramel bite from todays batch!:) These crunchy, chewy, silky, sweet,…